I have had this idea since moving to Berlin and plan to implement it starting September 1. I originally thought August but forgot we'll be on holiday the first of August so that would put a damper on both the start of me going back to school, by myself and for myself, and our holiday. So September 1st it is!
Read MoreGallery Walled.
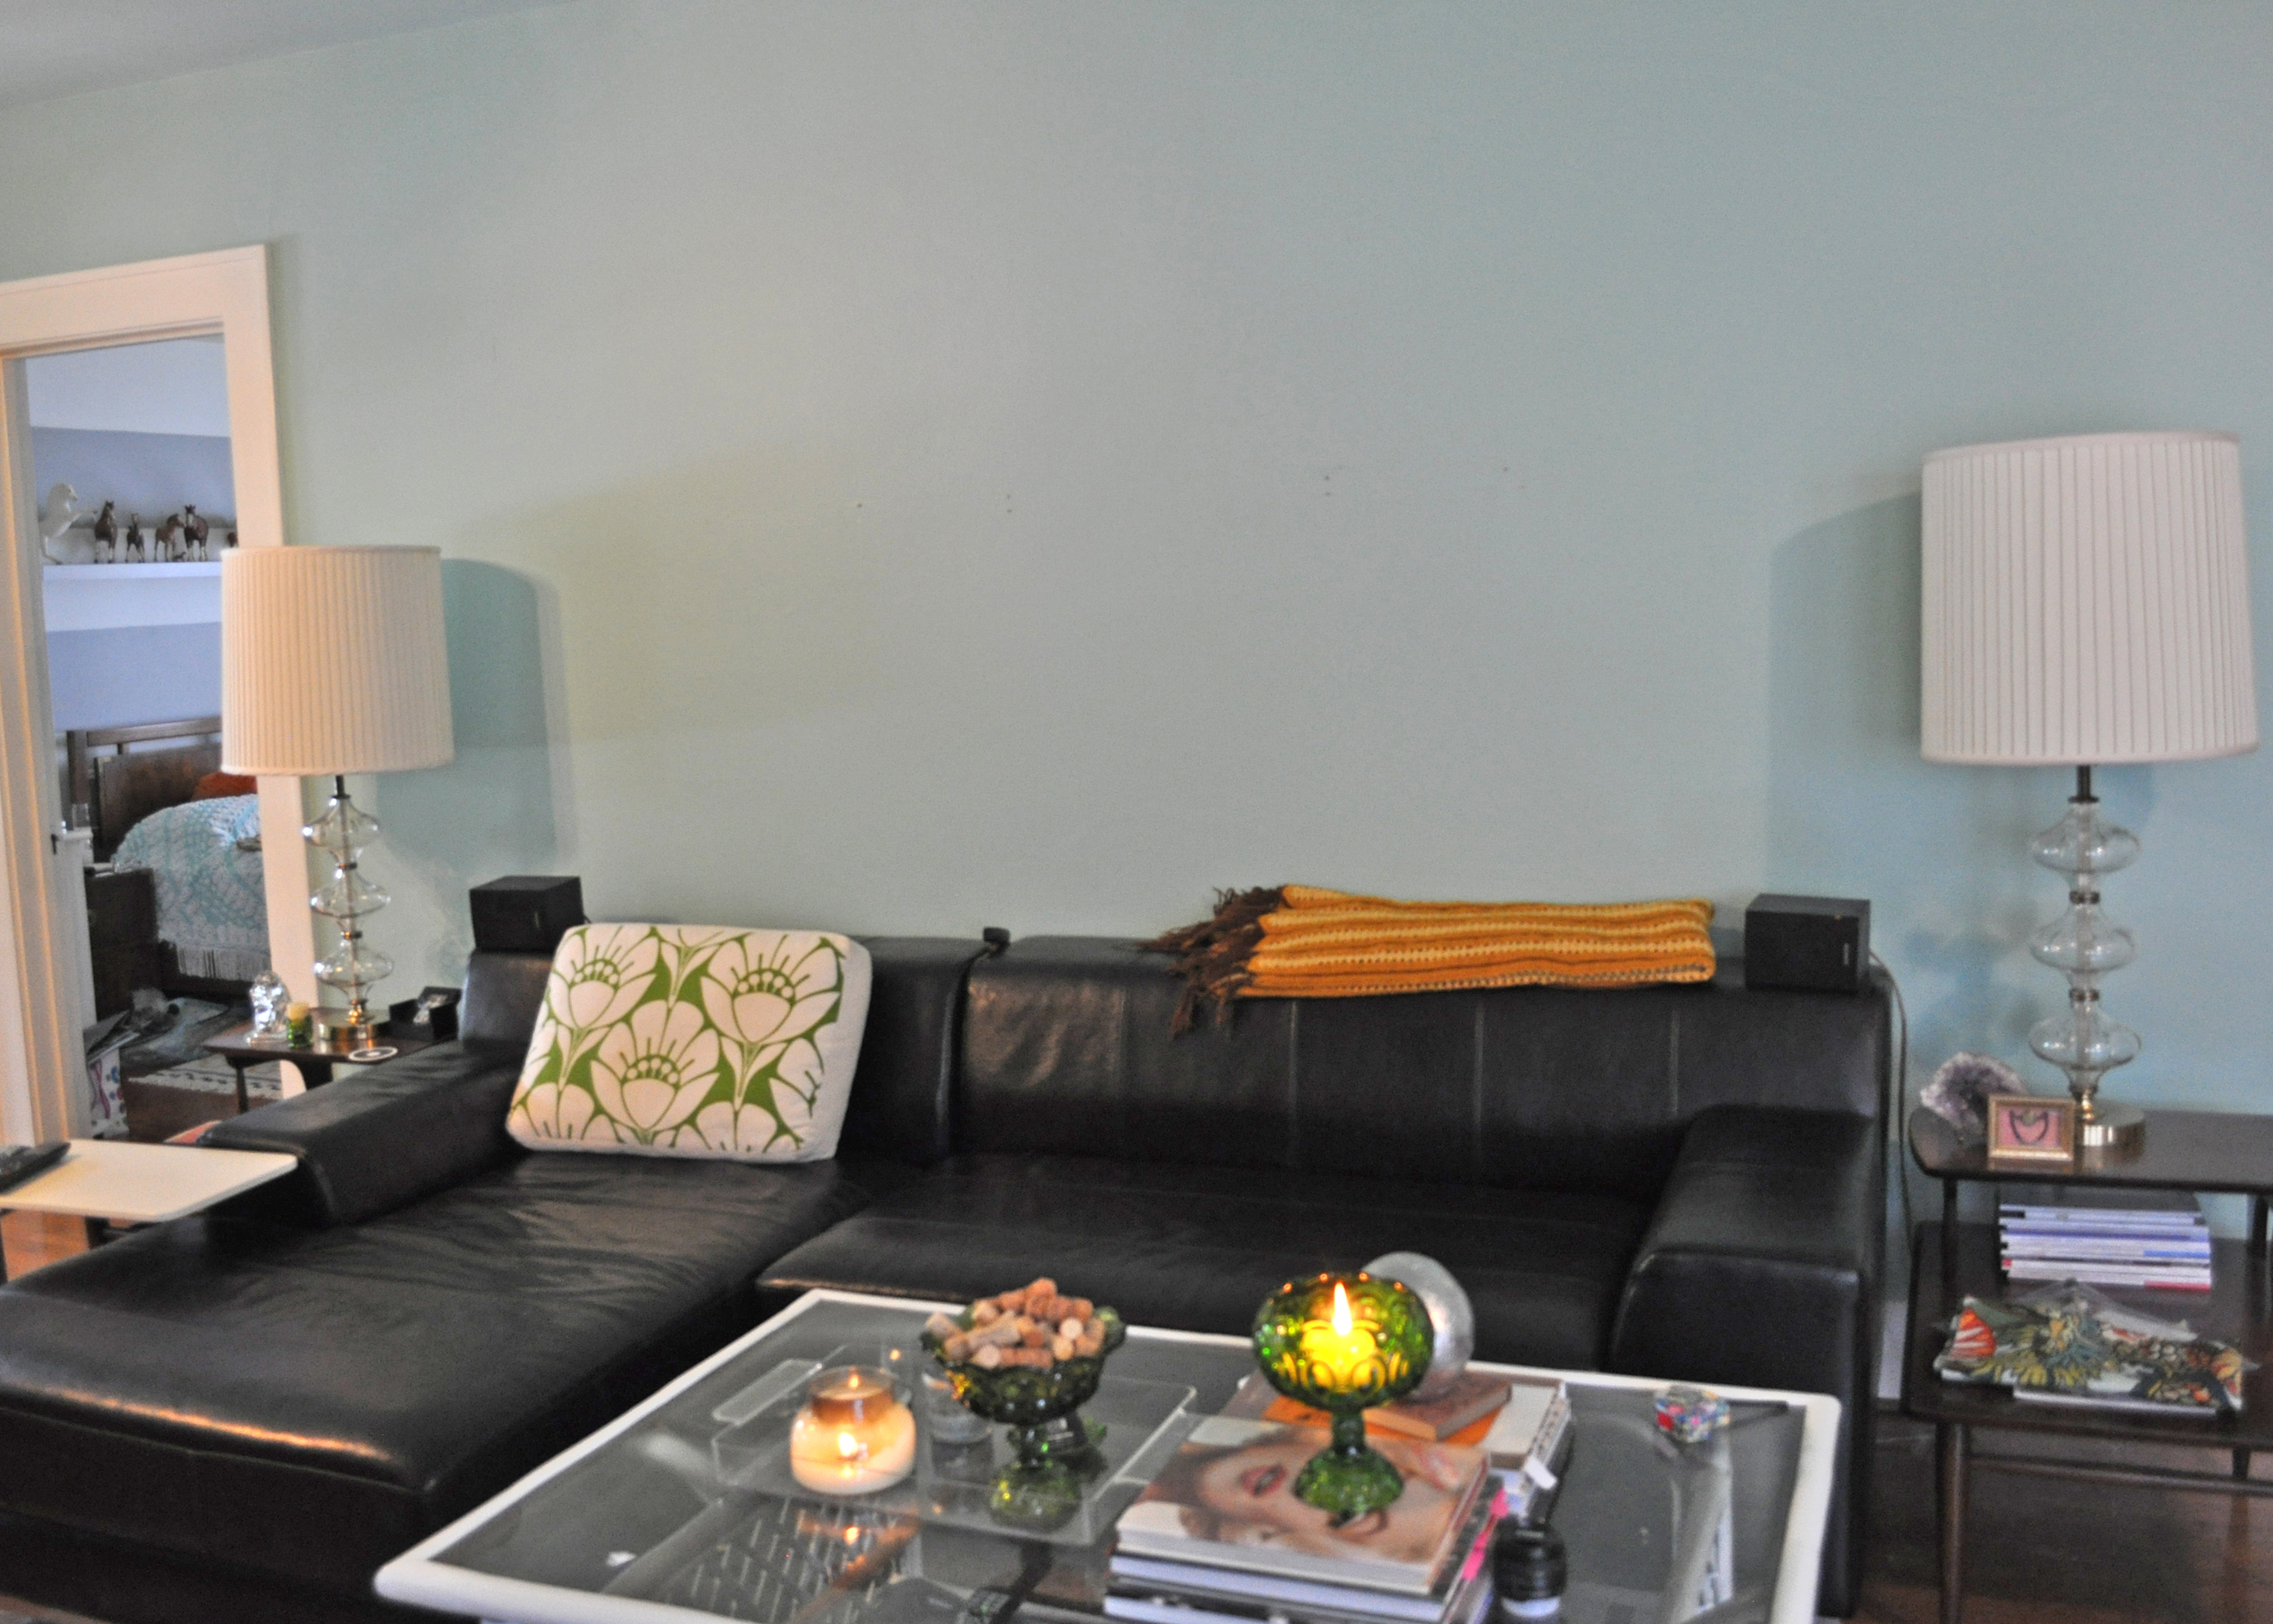
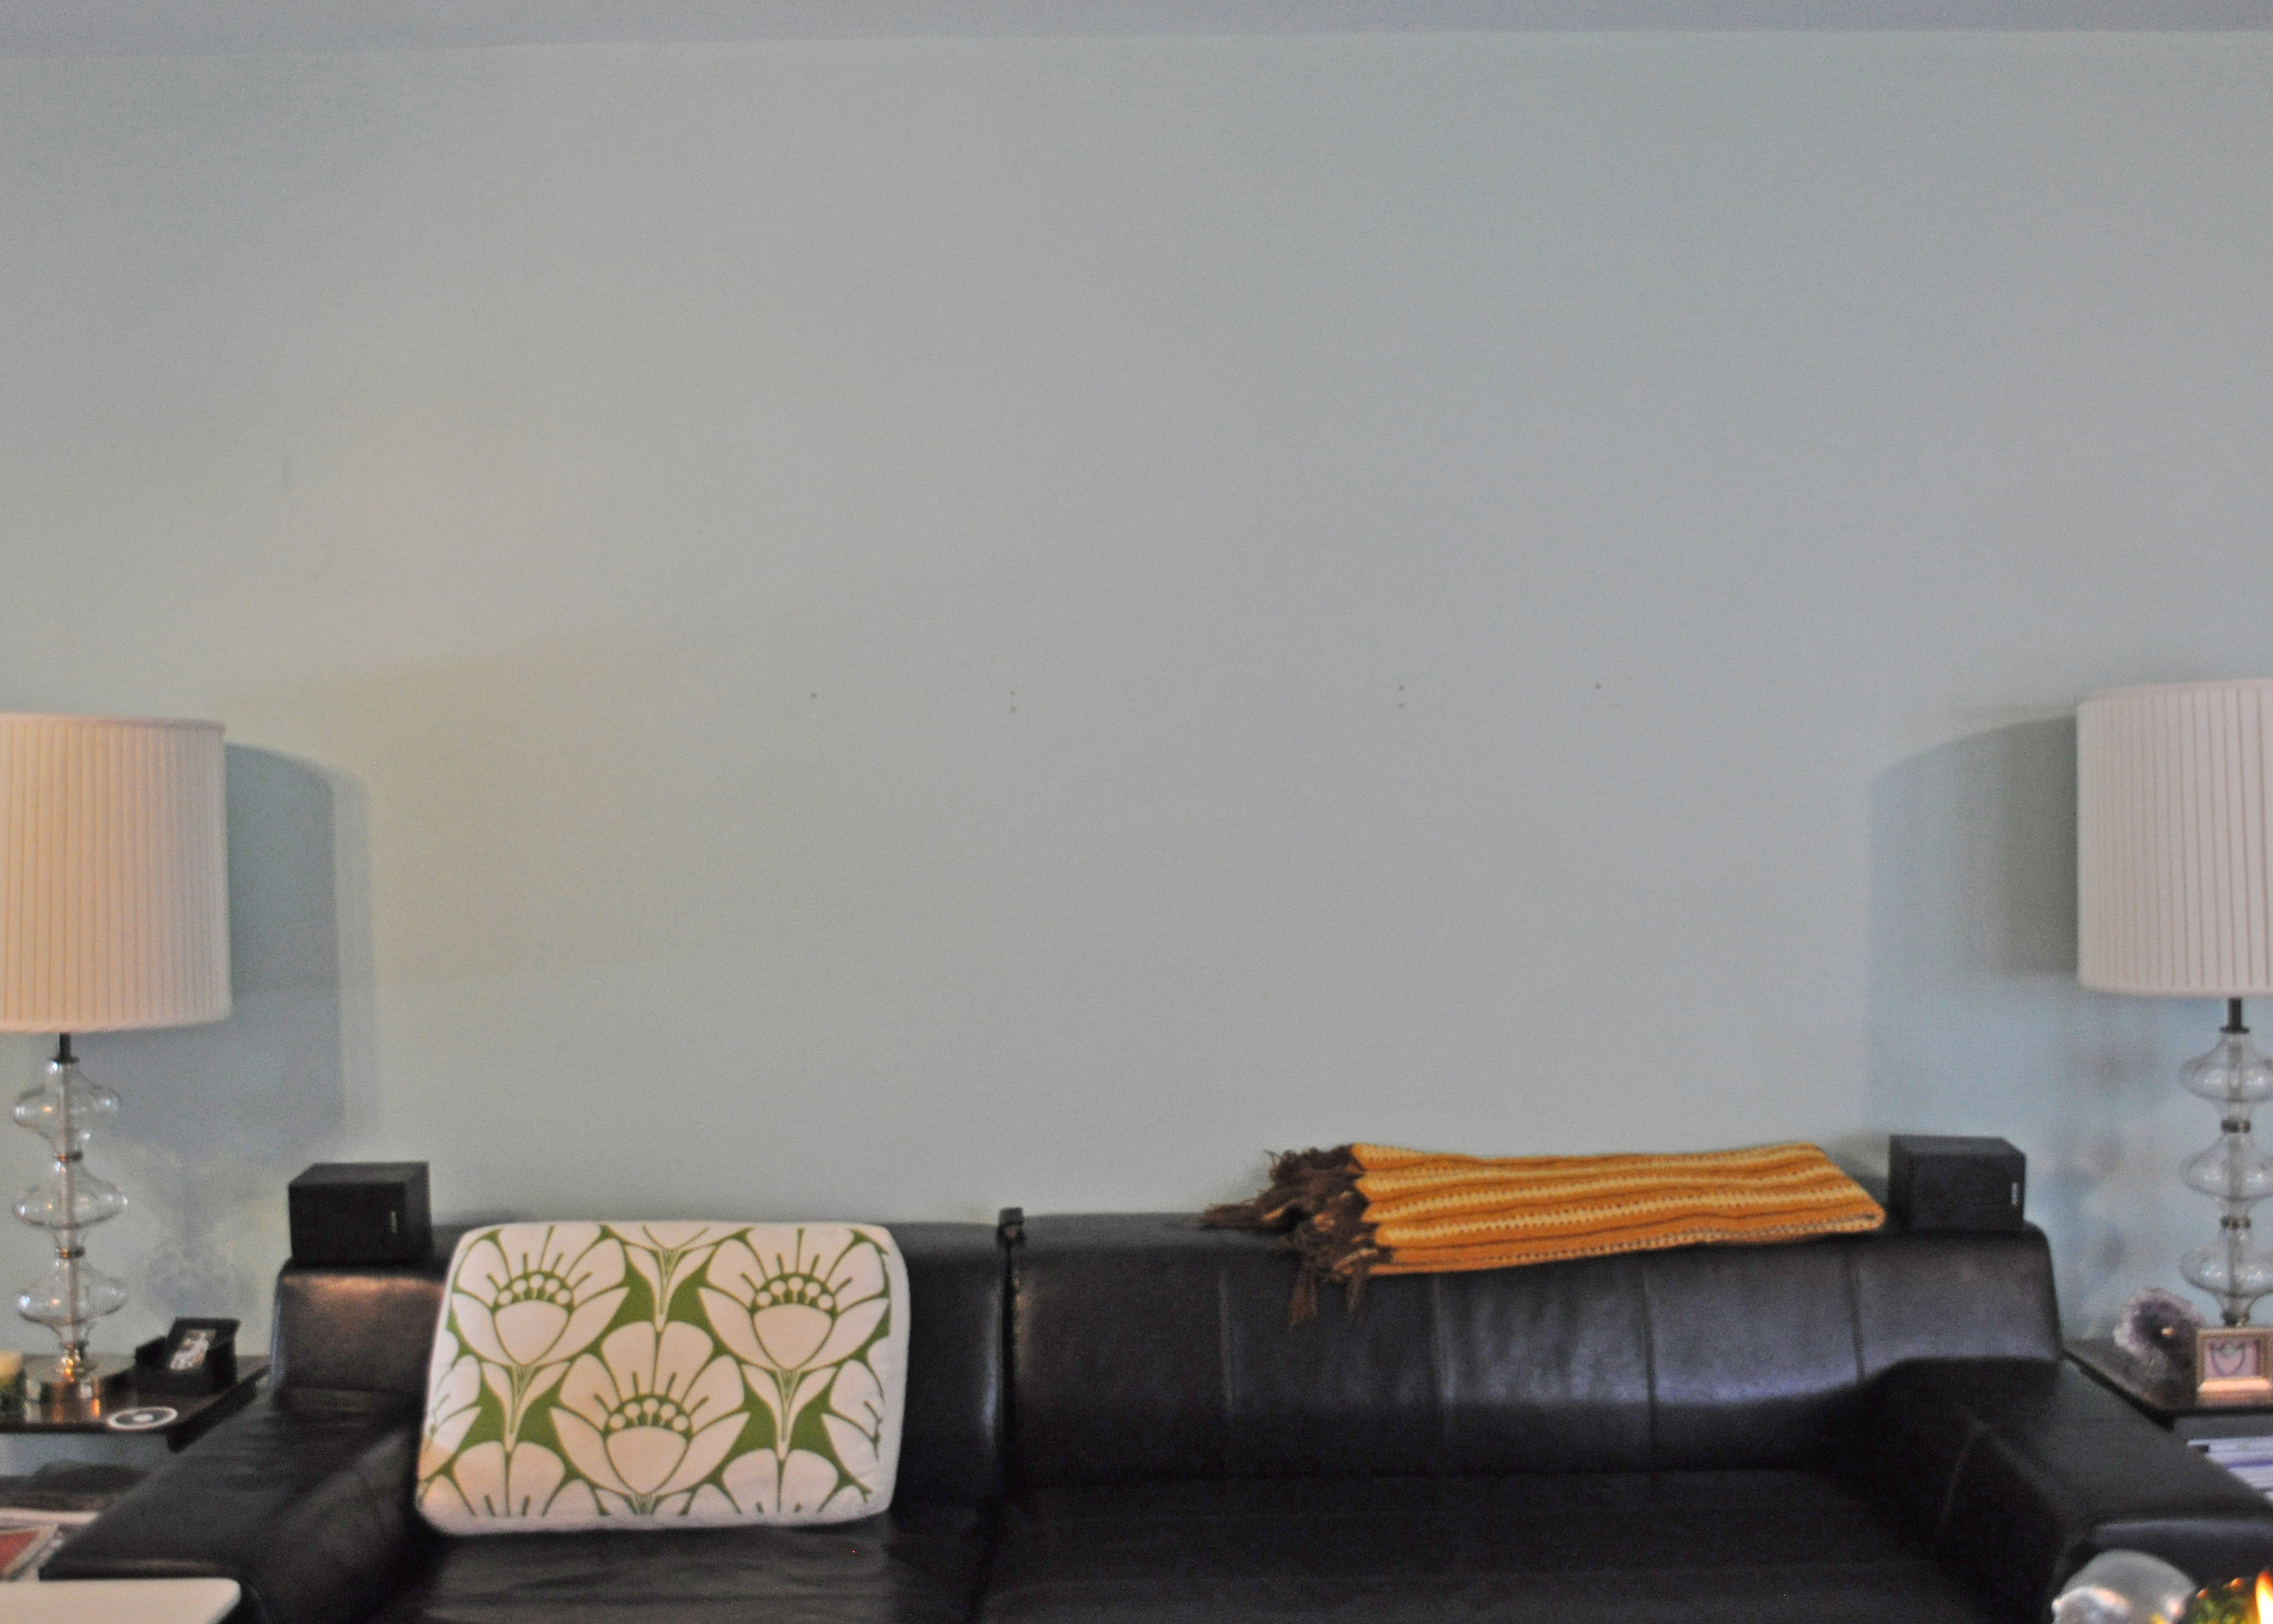
This is what I'm starting with, a large empty wall. We've been in our little bungalow for almost 2 years & I'm finally getting to decorating. So often my head is filled with designs & ideas for all of my clients, leaving little room for my own home. I miss decorating for me though, so I'll be posting my house more often as I get to my mile long list of projects.
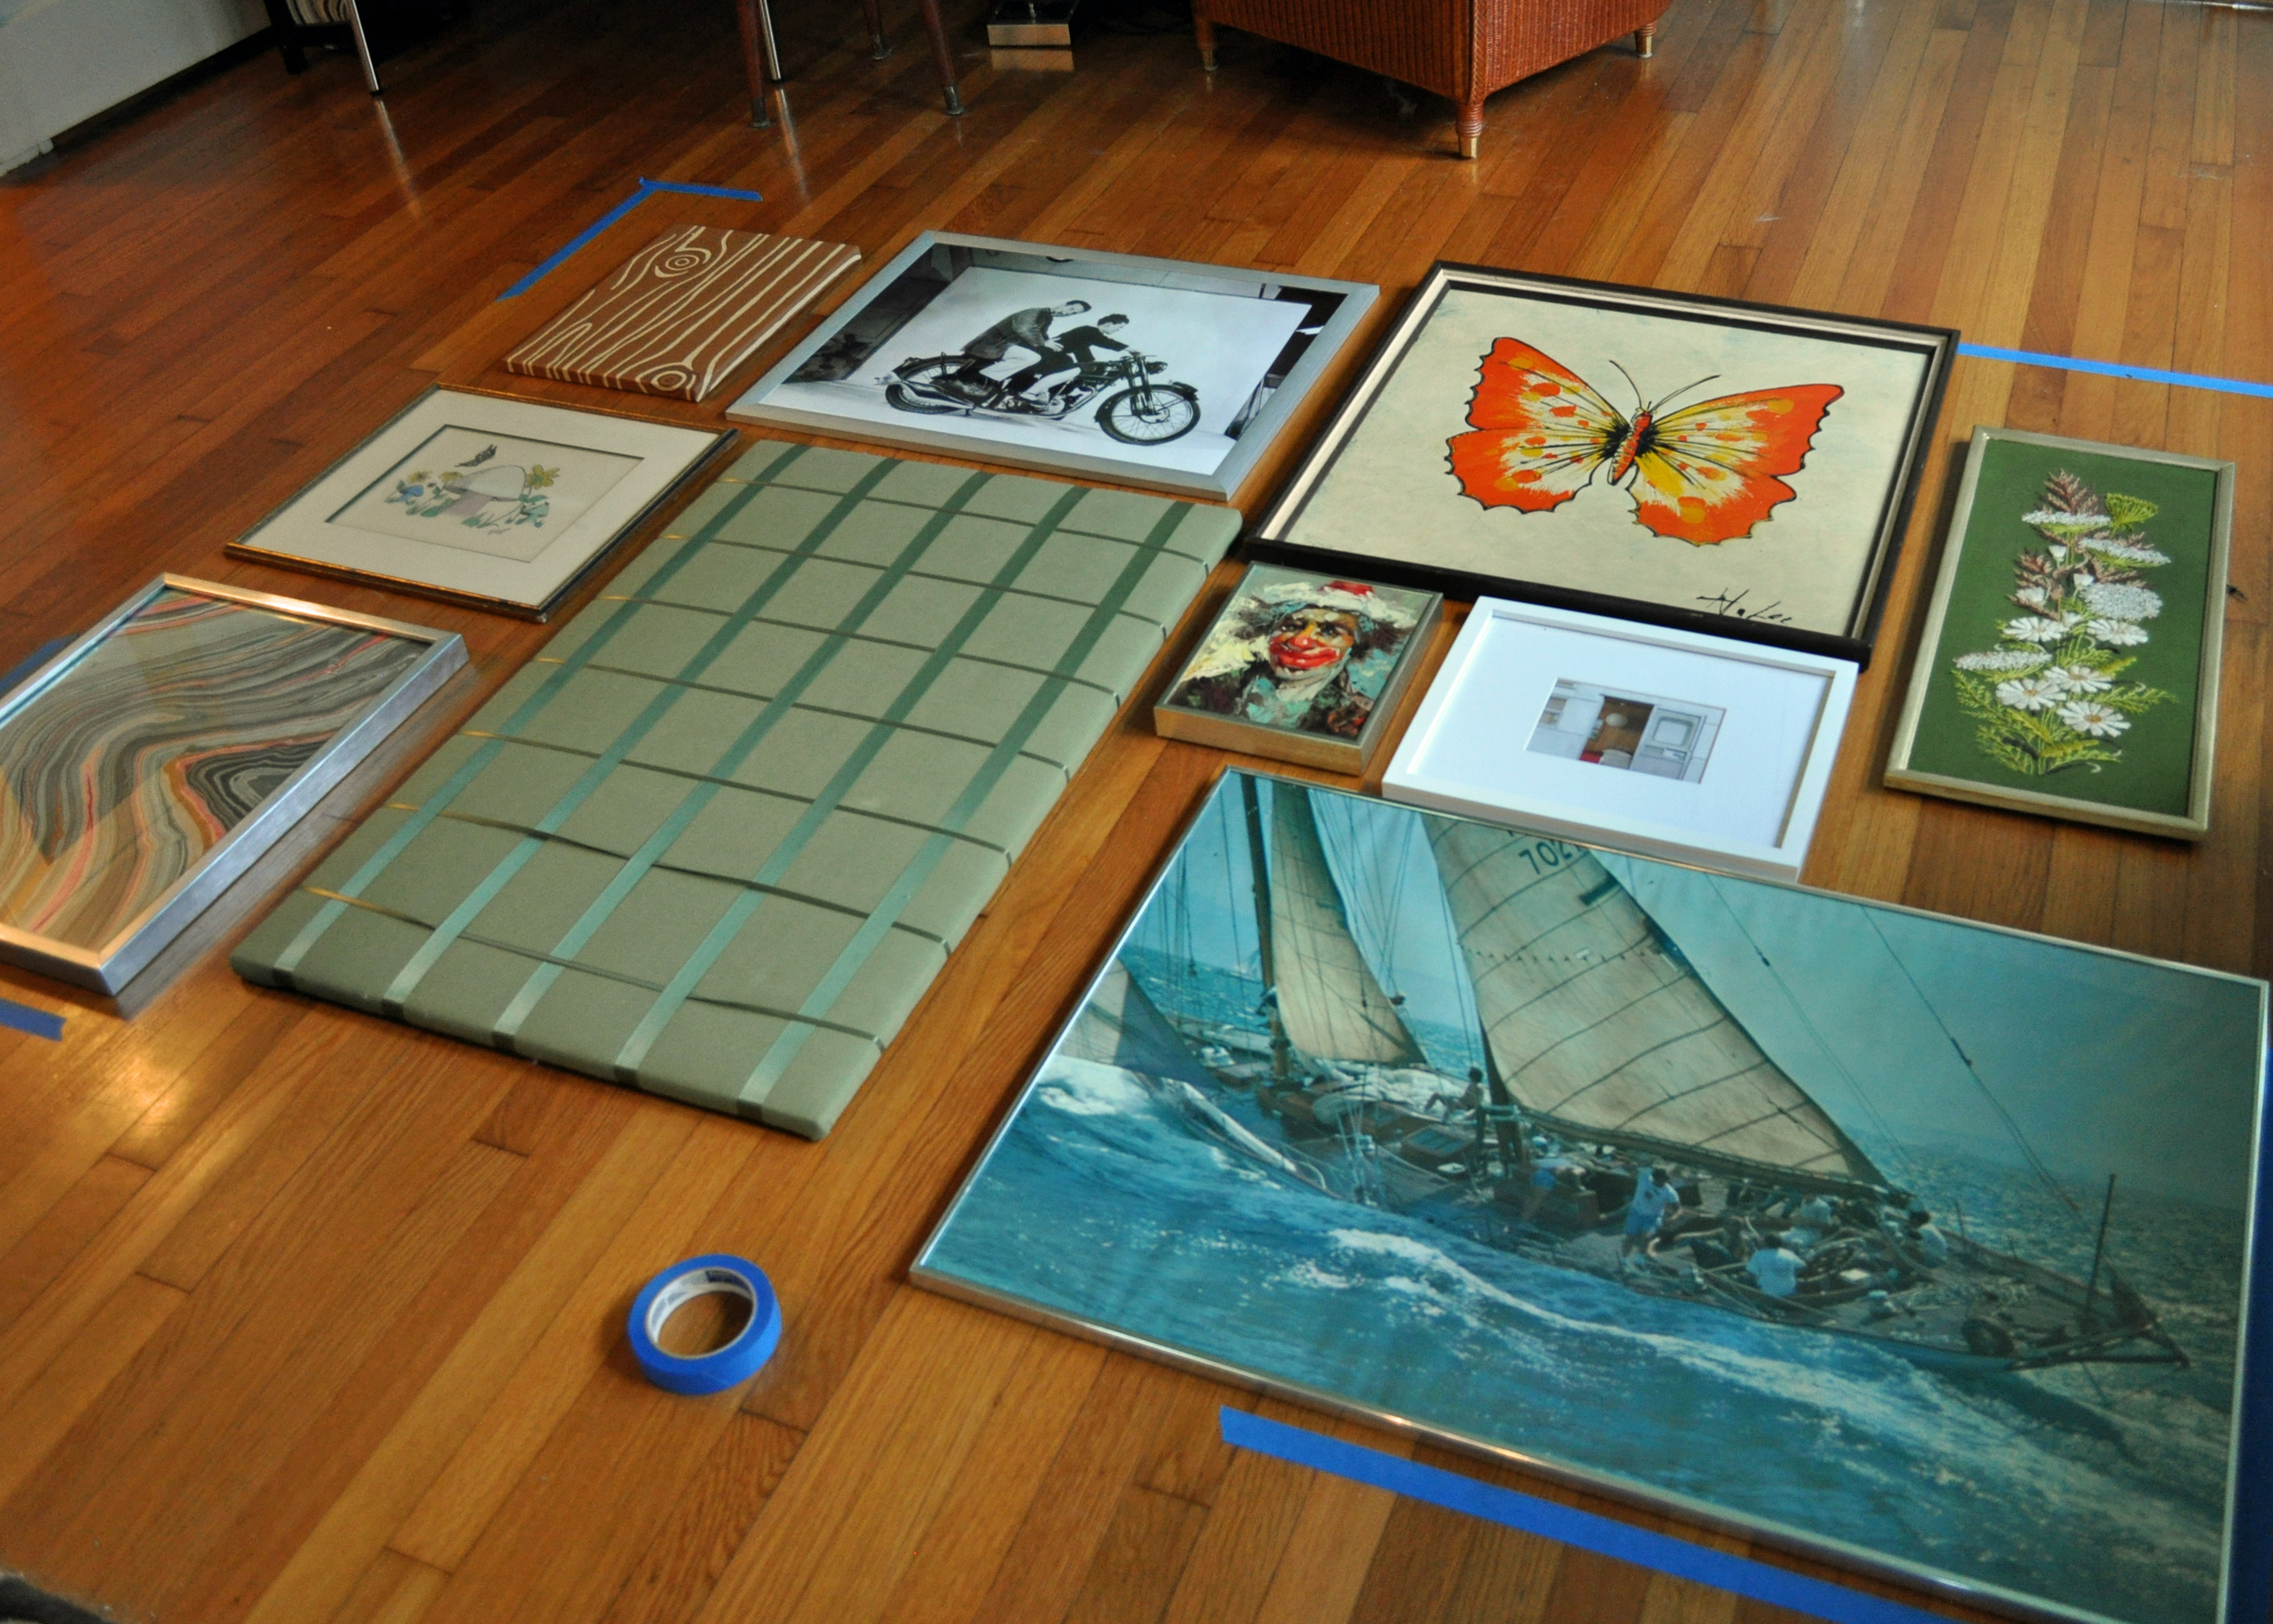
I measured the wall, the space that I want the pictures to fill. I wanted the pictures to go to the ceiling to raise your eye making the ceiling seem taller. I chose a random mix of my favorite images. I laid them out together adding & pulling pictures till I had it just right, to me. It'd be great to do a gallery wall of a collection as well, say all portraits or black & whites. I've seen groups of paint-by-numbers all hung together that turned out cute.
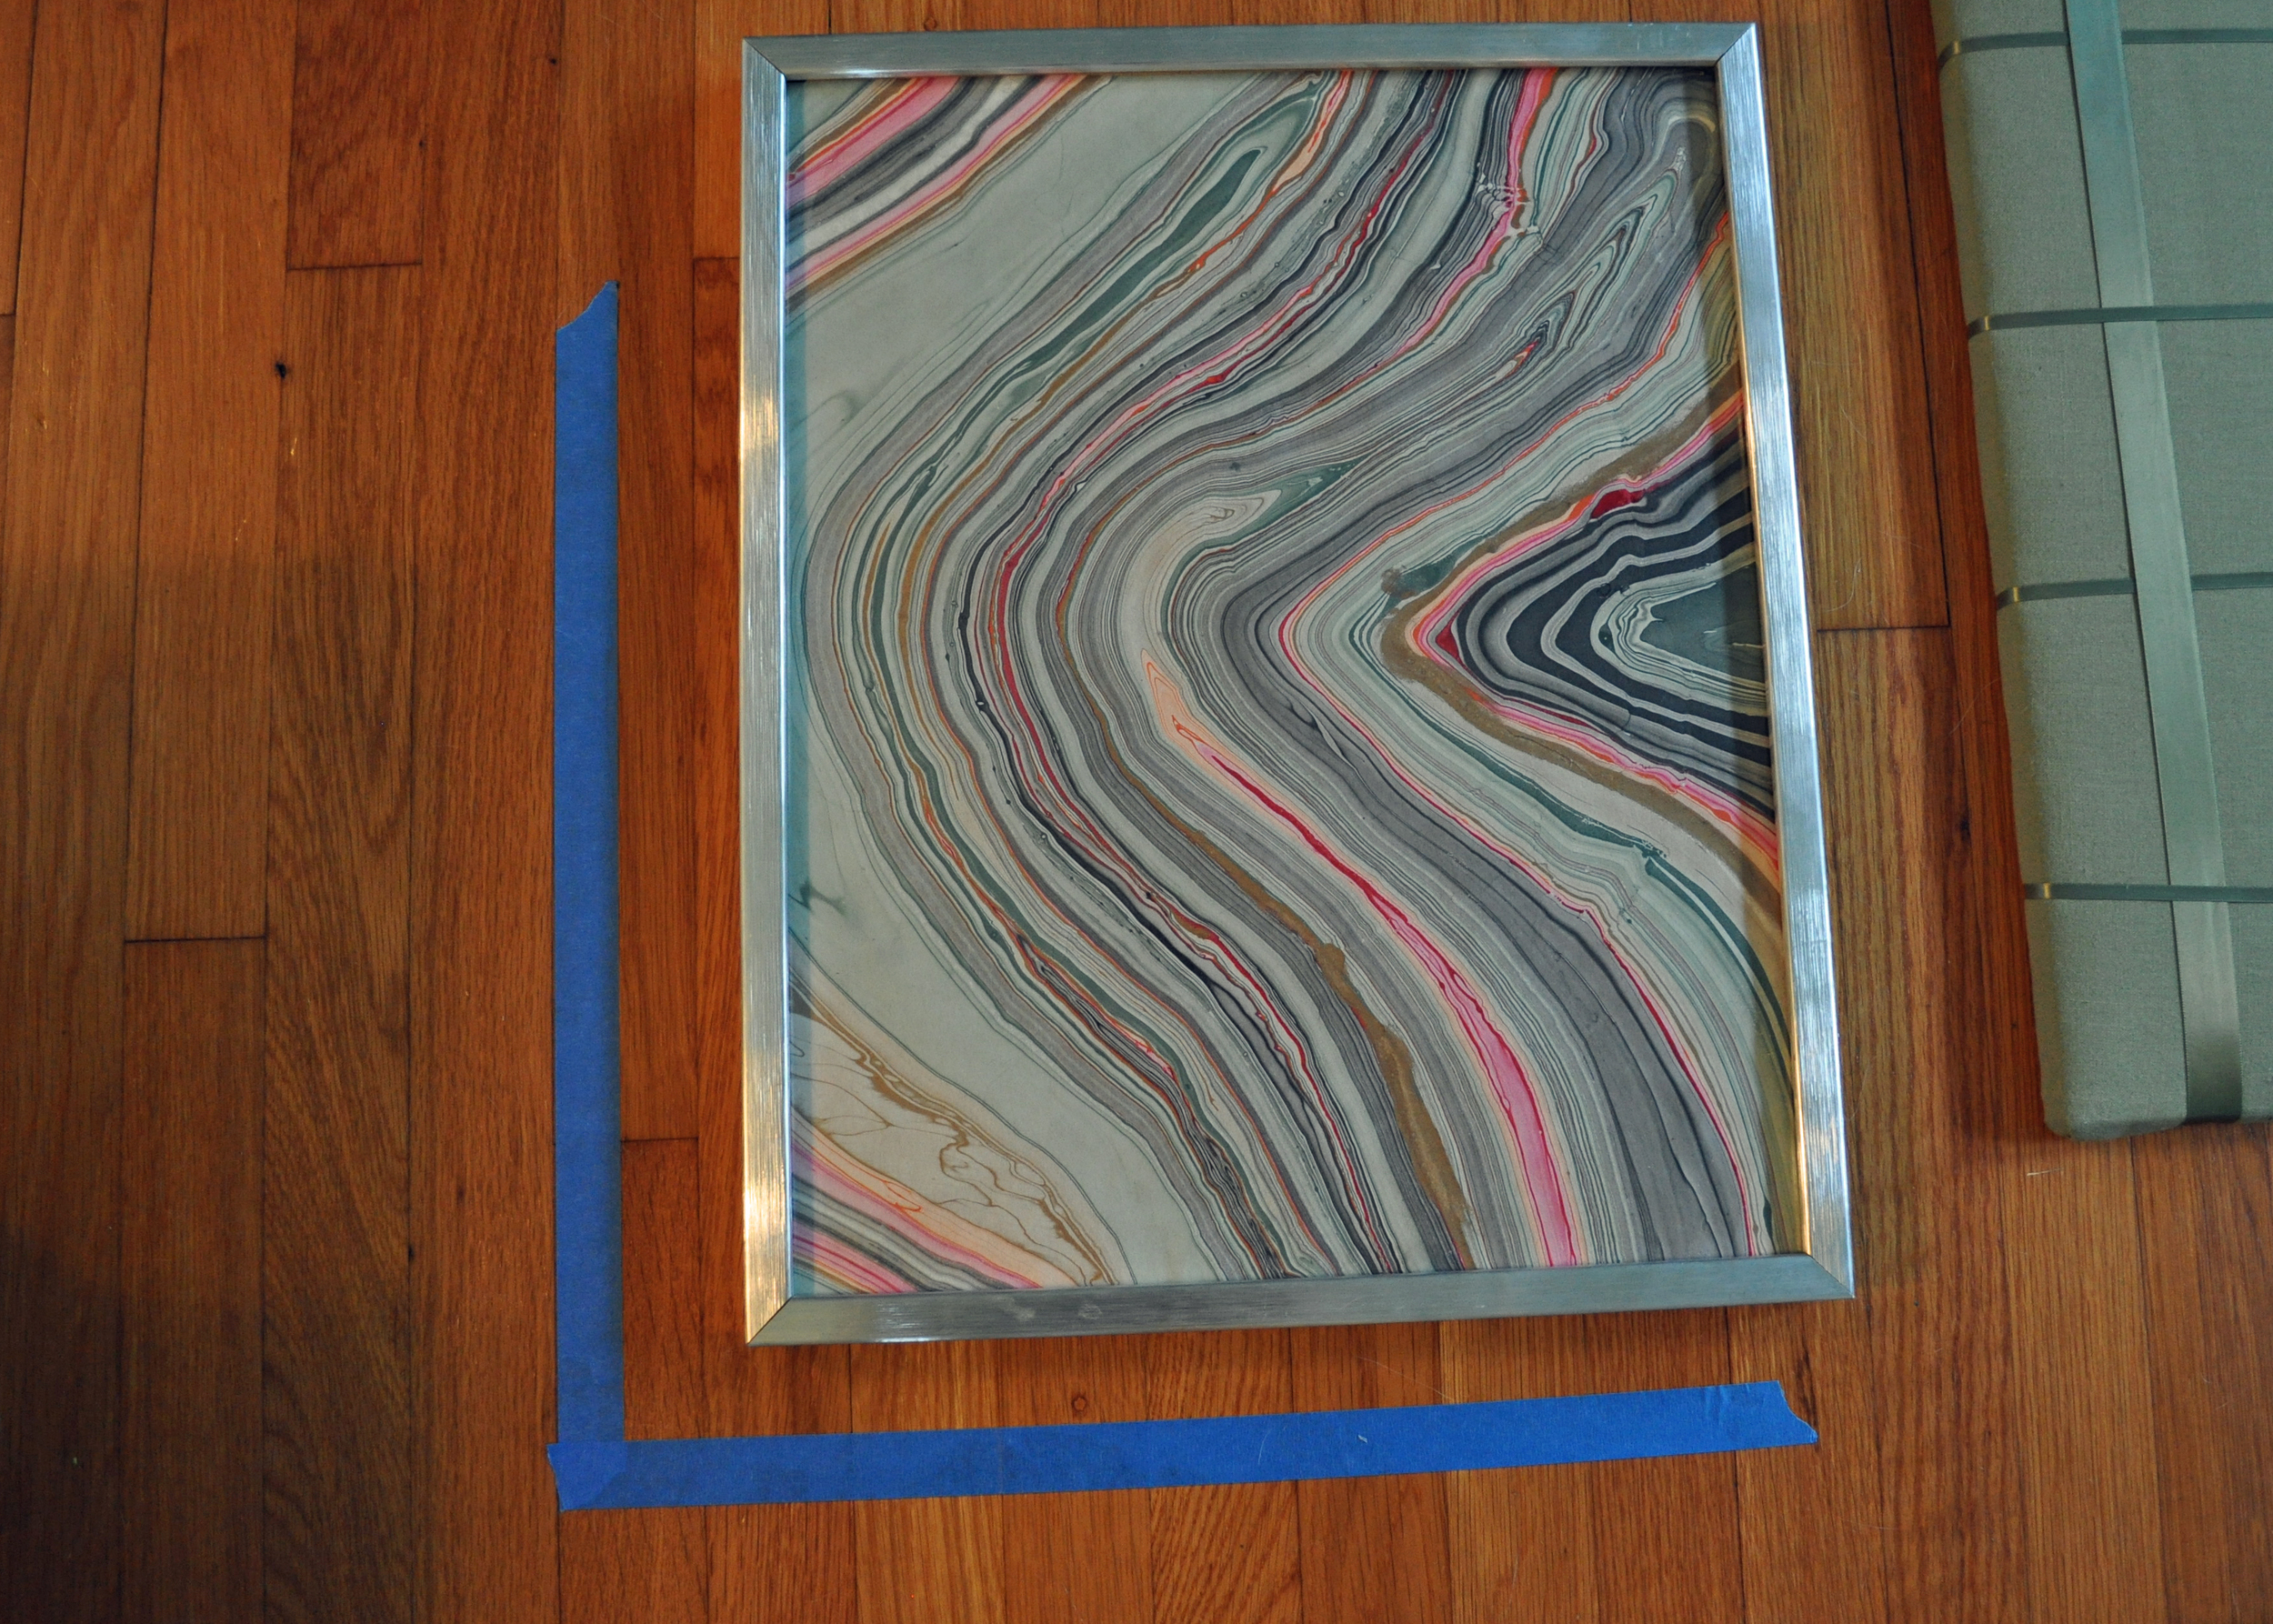
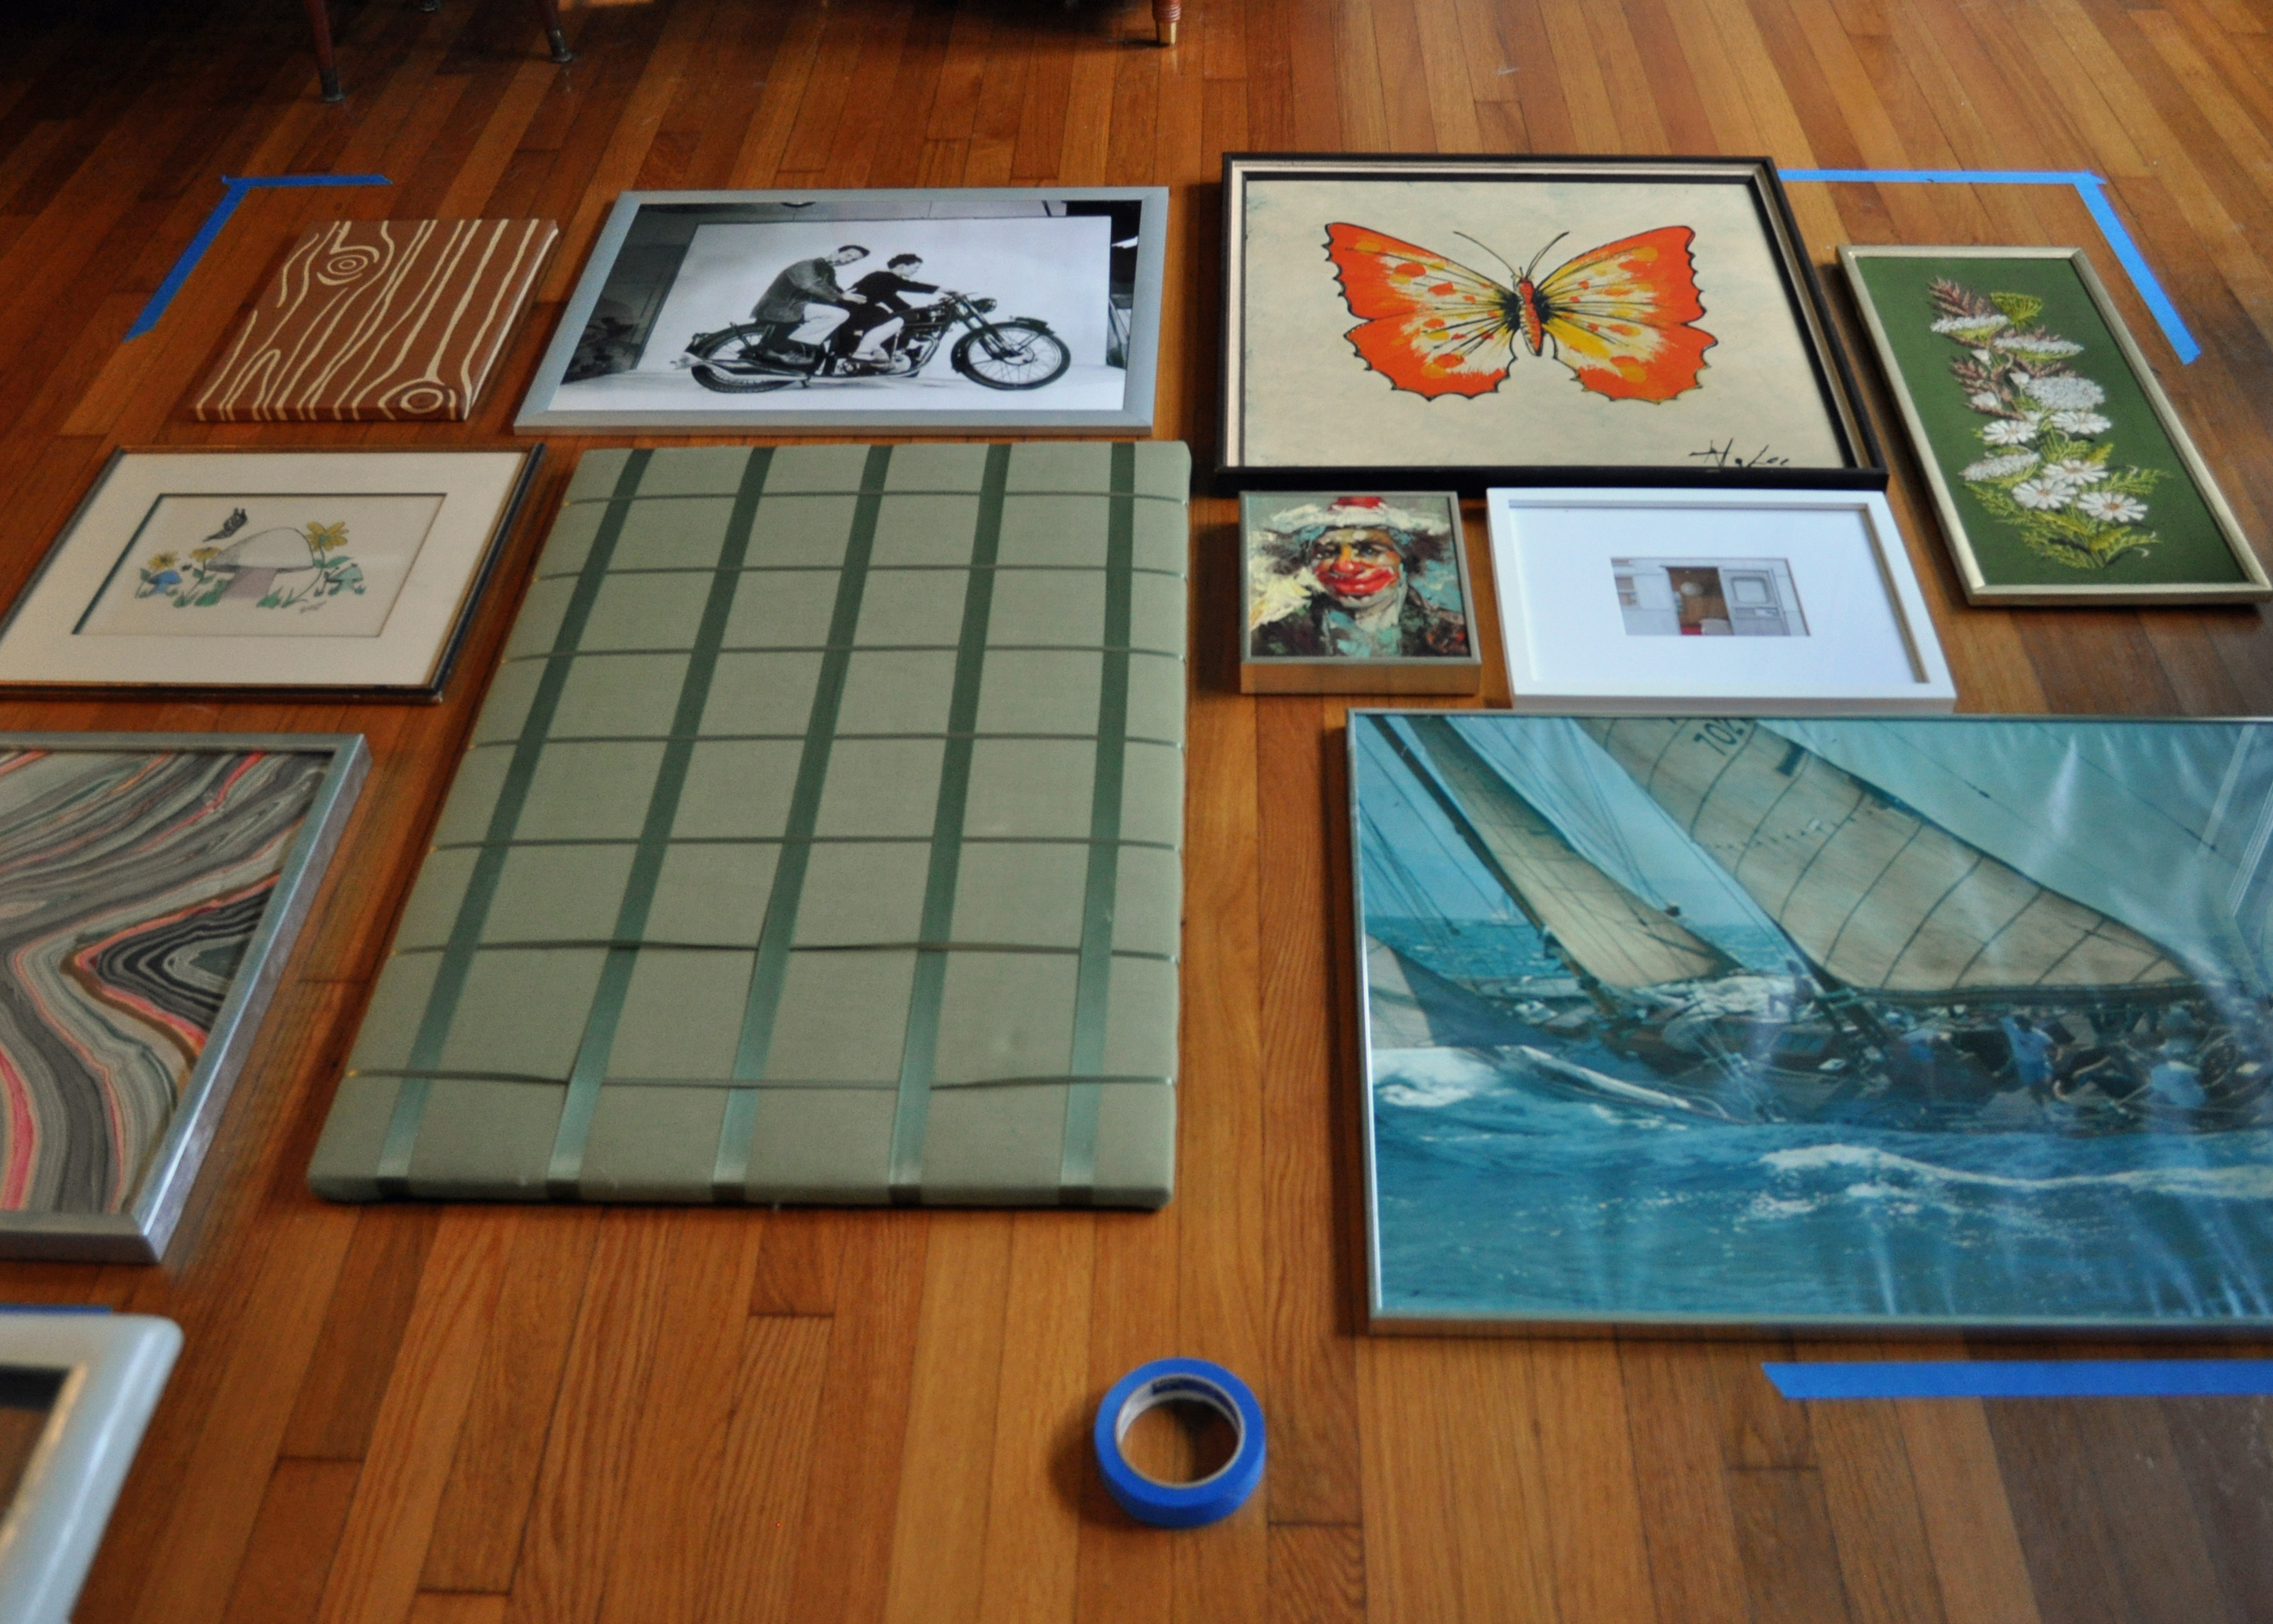
On the floor I measured out the size of the space from the wall. I blue taped the corners so I knew when I was laying out pictures seeing what I liked just how big I could make it. I wasn't super precise, trust your eye, you know what looks good.
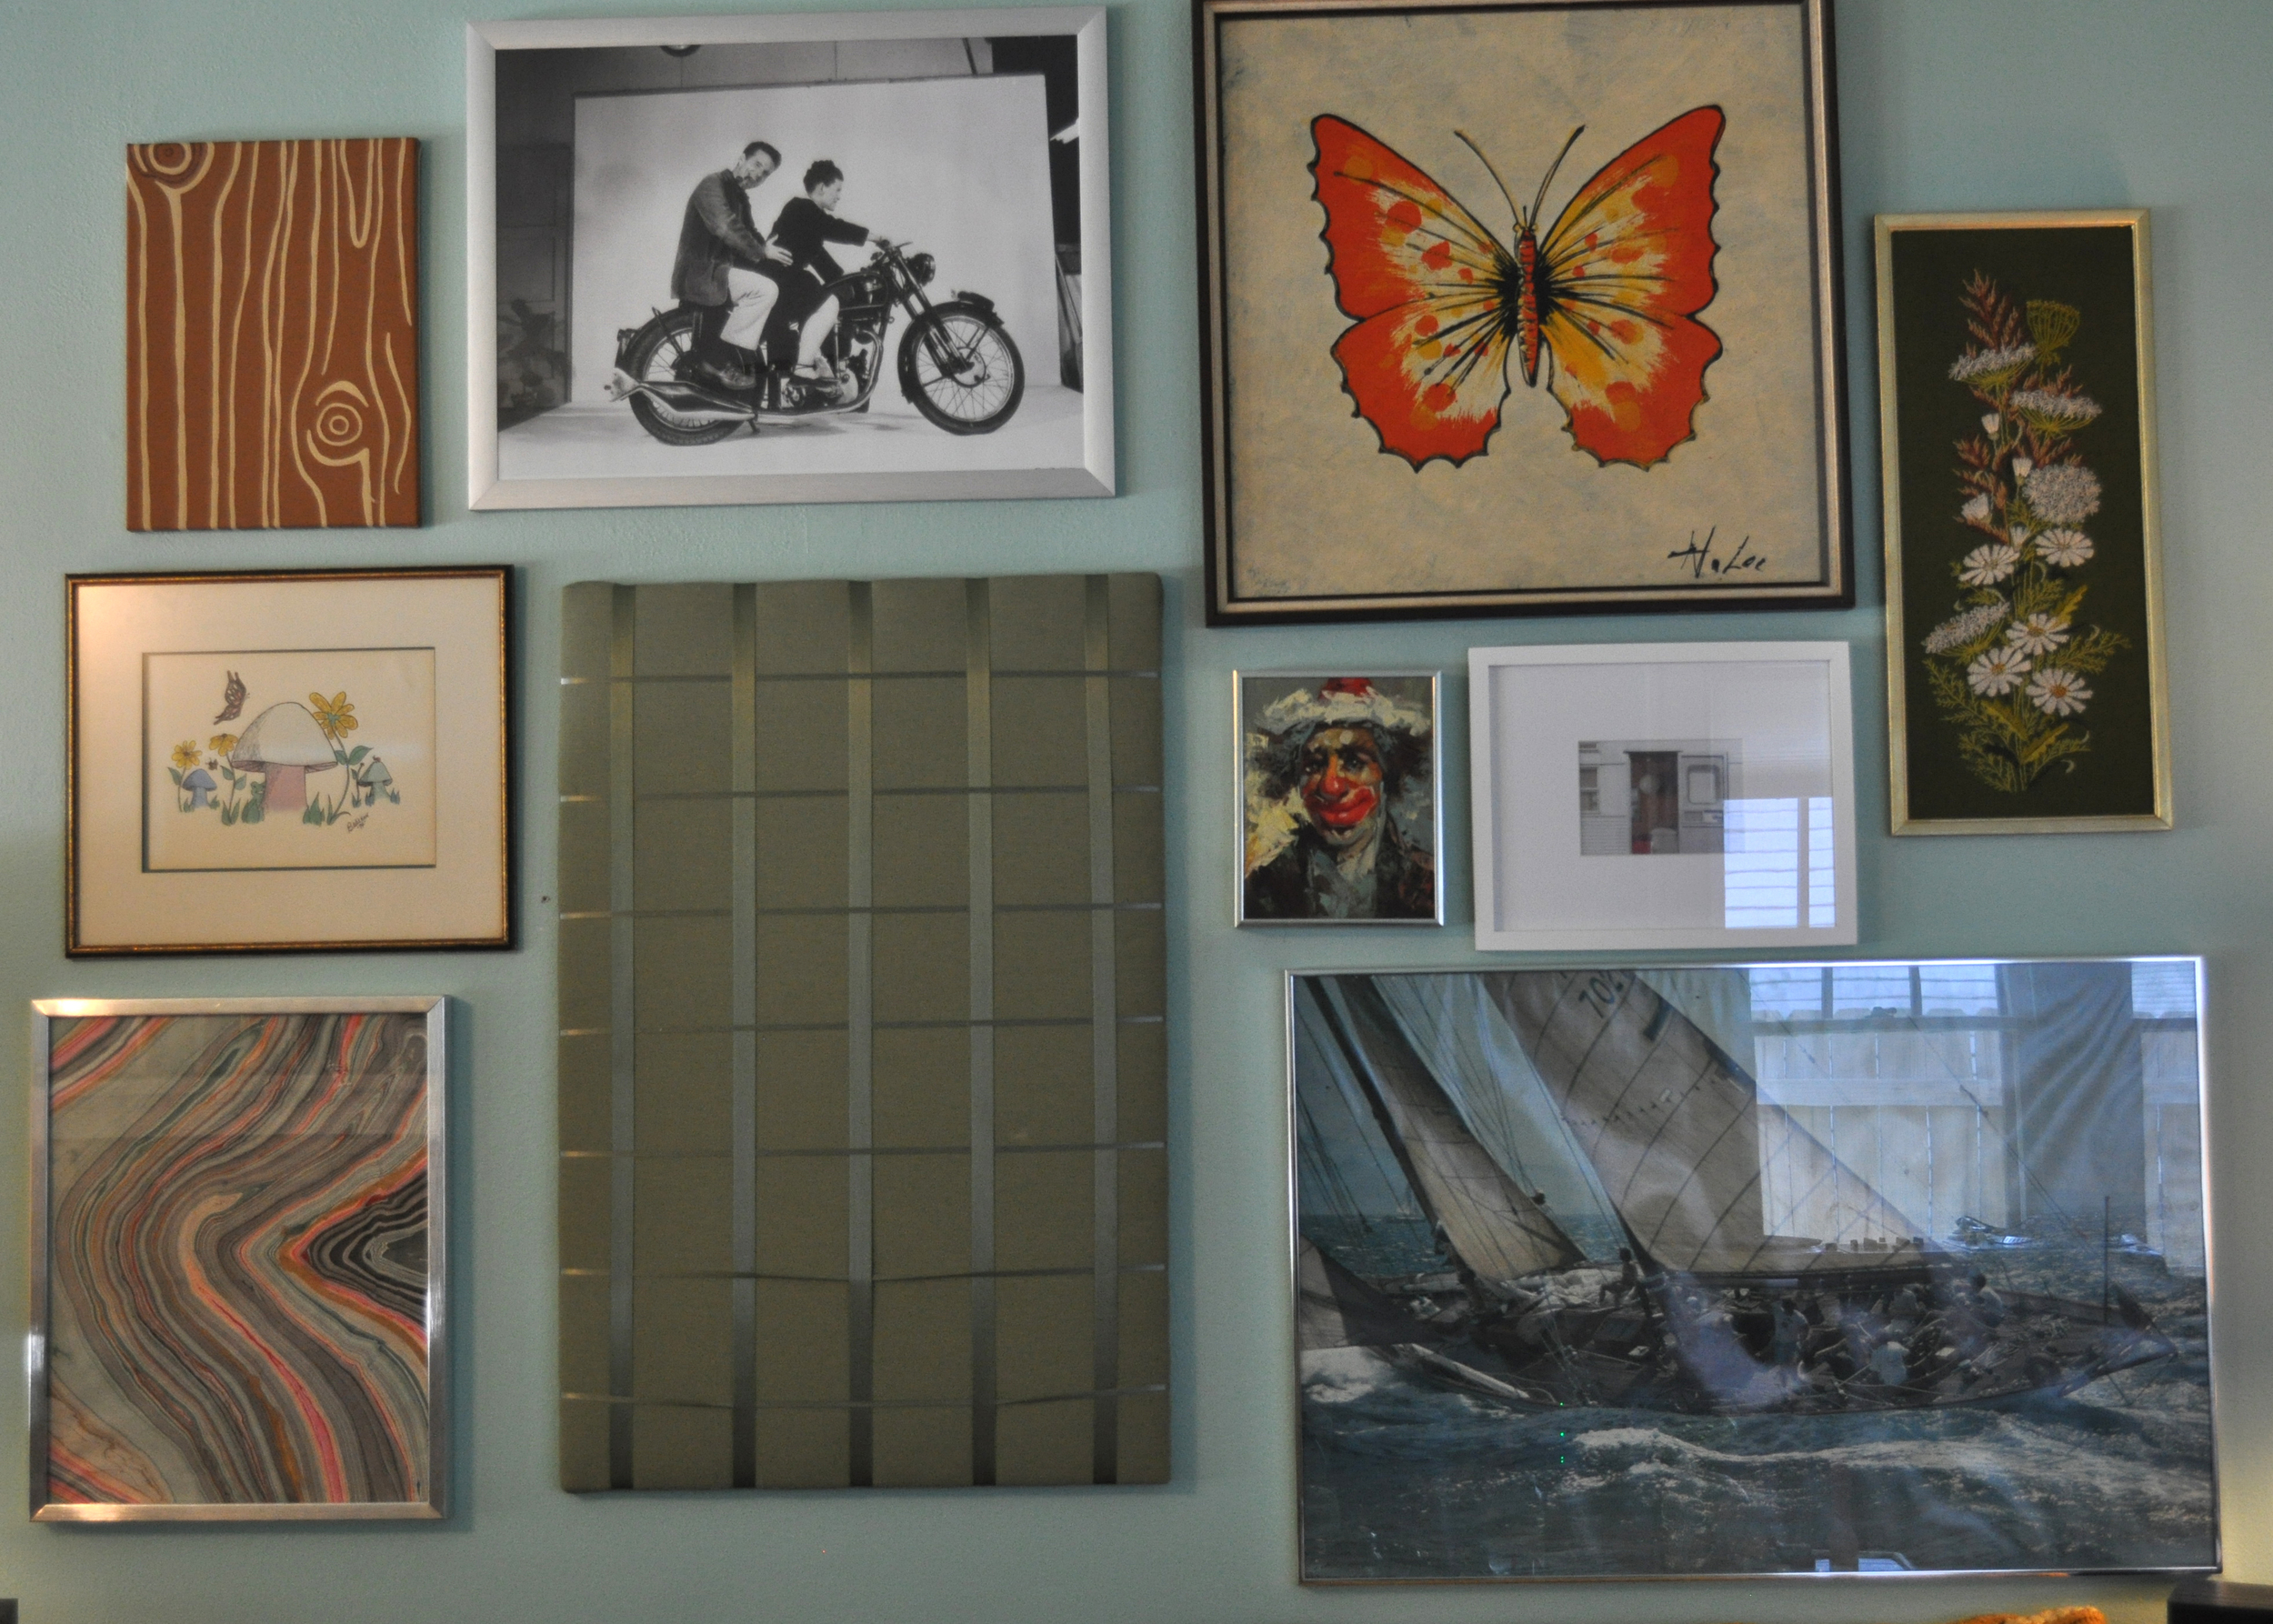
Here is the approximate layout that I like. I plan on updating & replacing so some of these are placeholders for now. Laying them out on the floor before you begin hanging is very important. I've seen "how tos" that use kraft paper cut to the size of the art hung to the wall. That's a great idea, but still lay the art out on the floor first. You need to see how colors & frame finishes work with each other. I did not use kraft paper, I'm much to lazy & not type A to do such a thing, but if it'll help you then by all means do it.
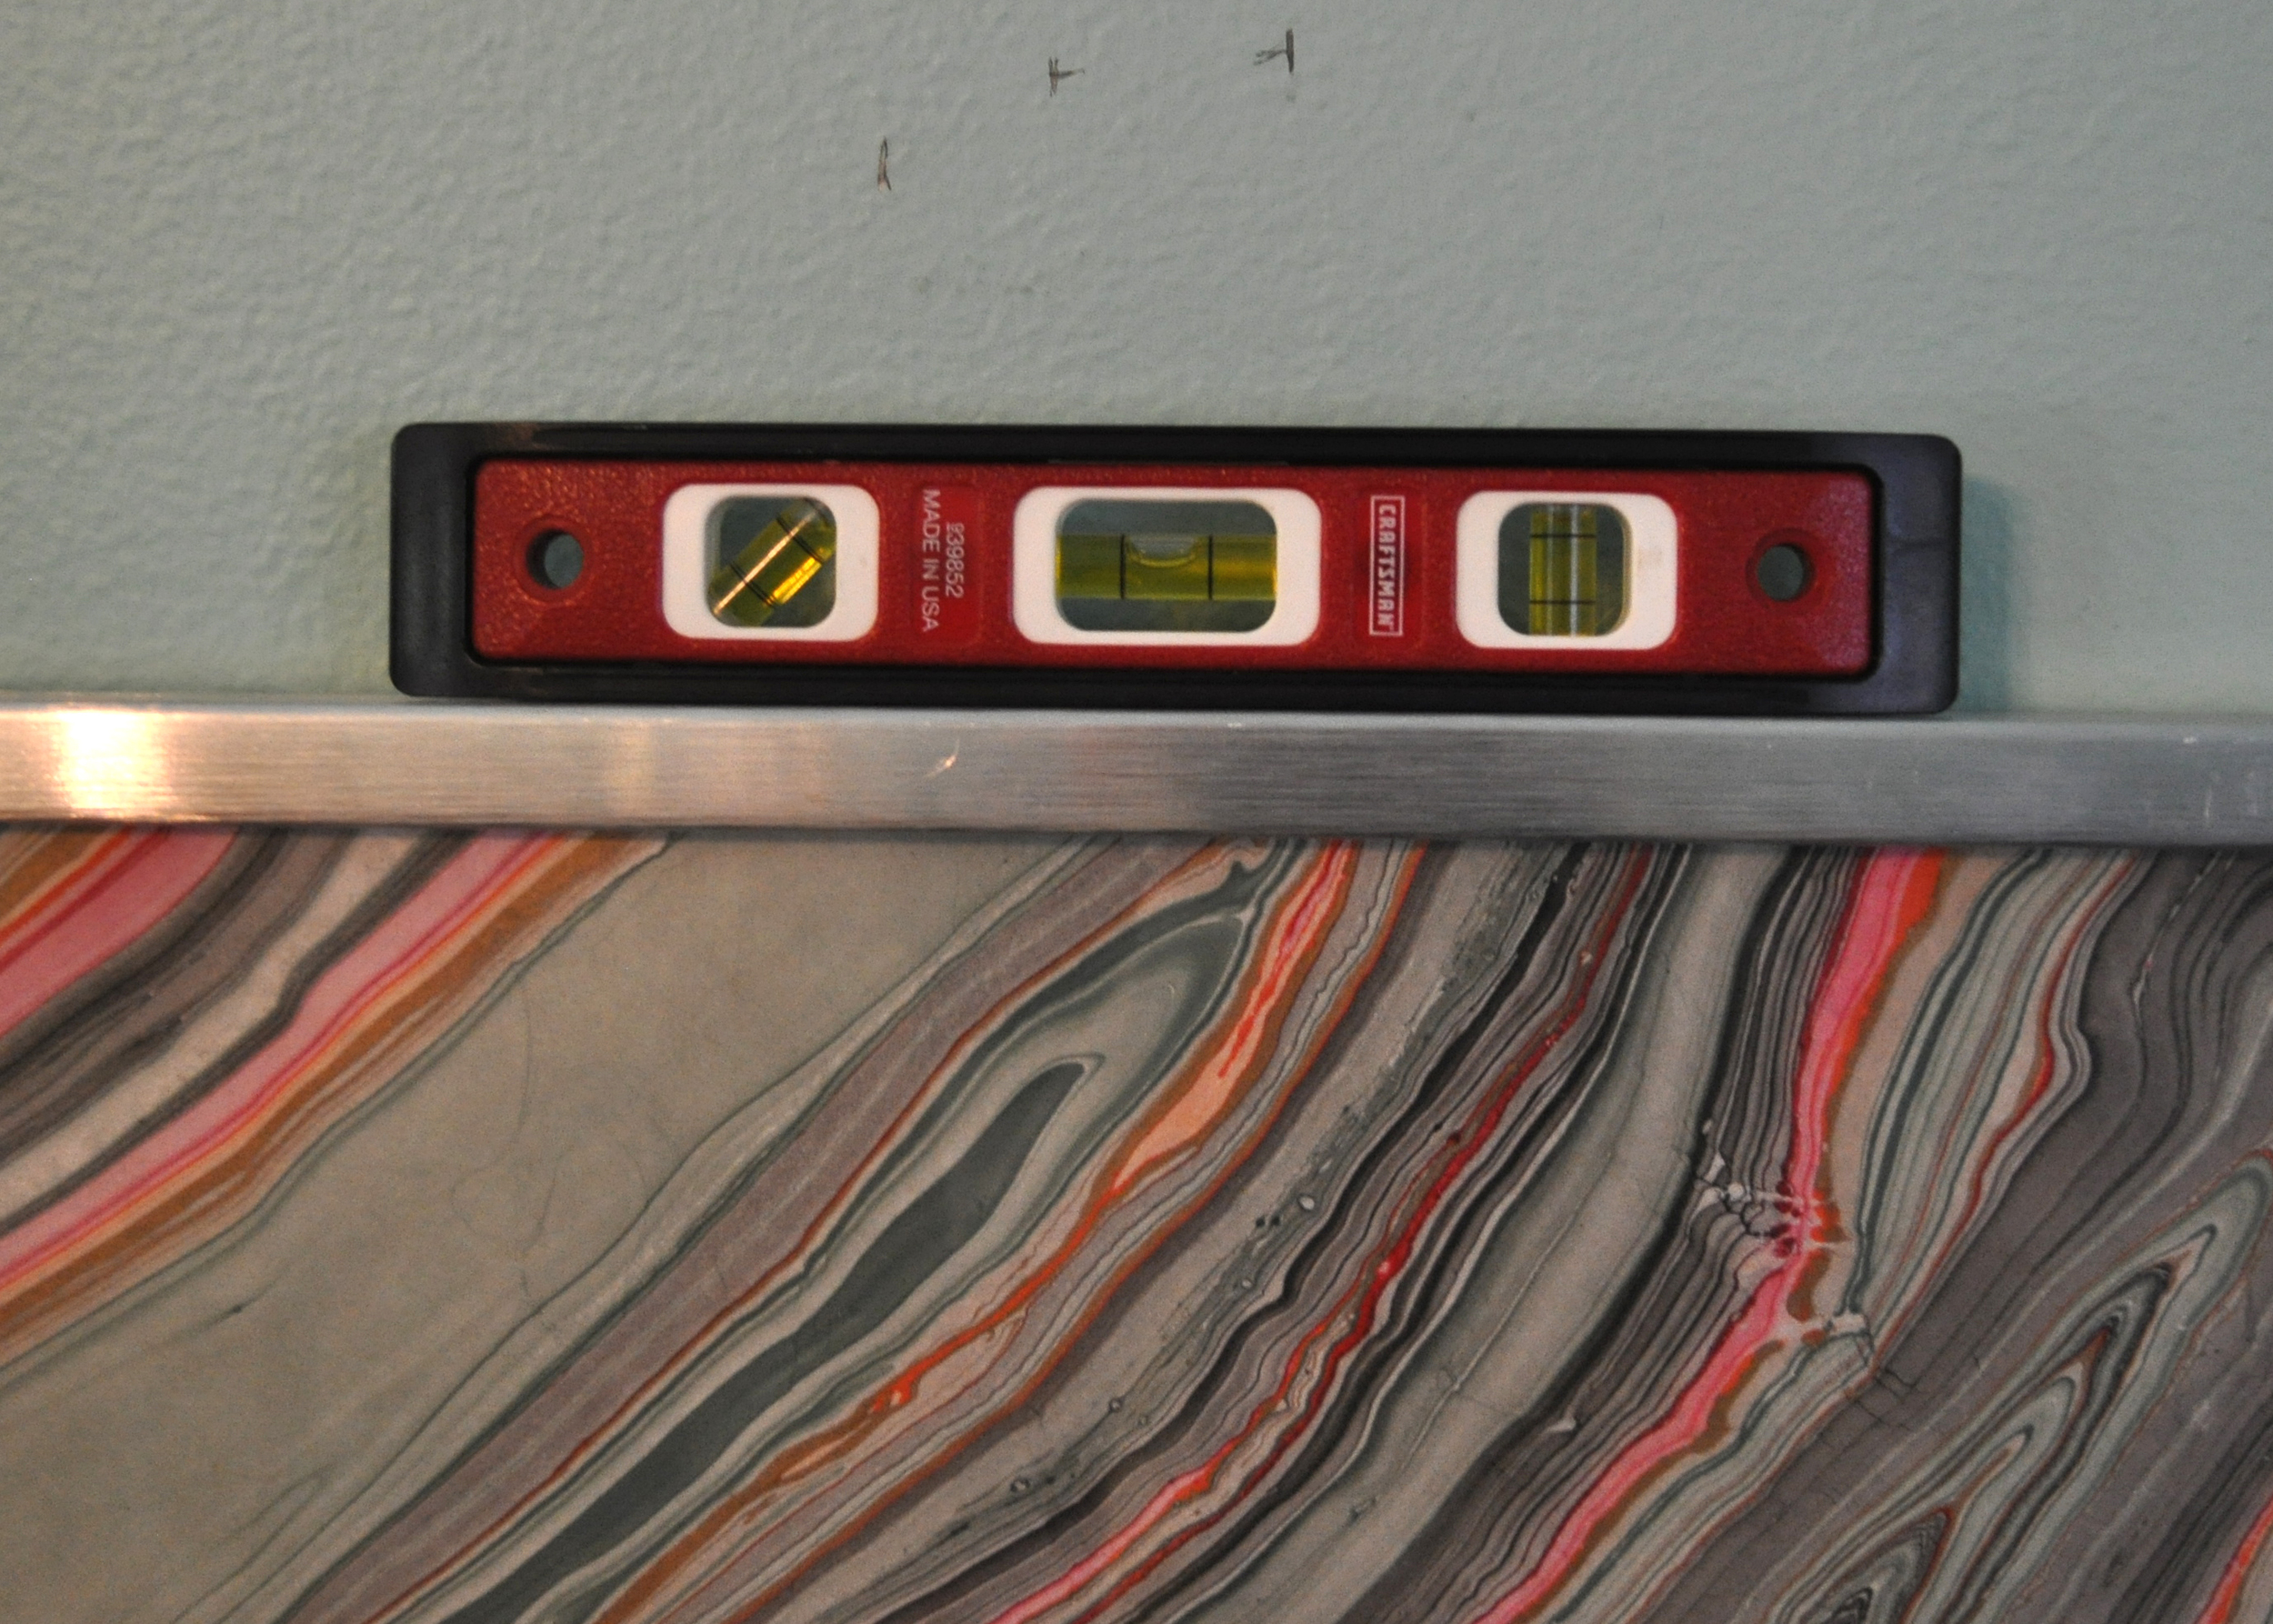
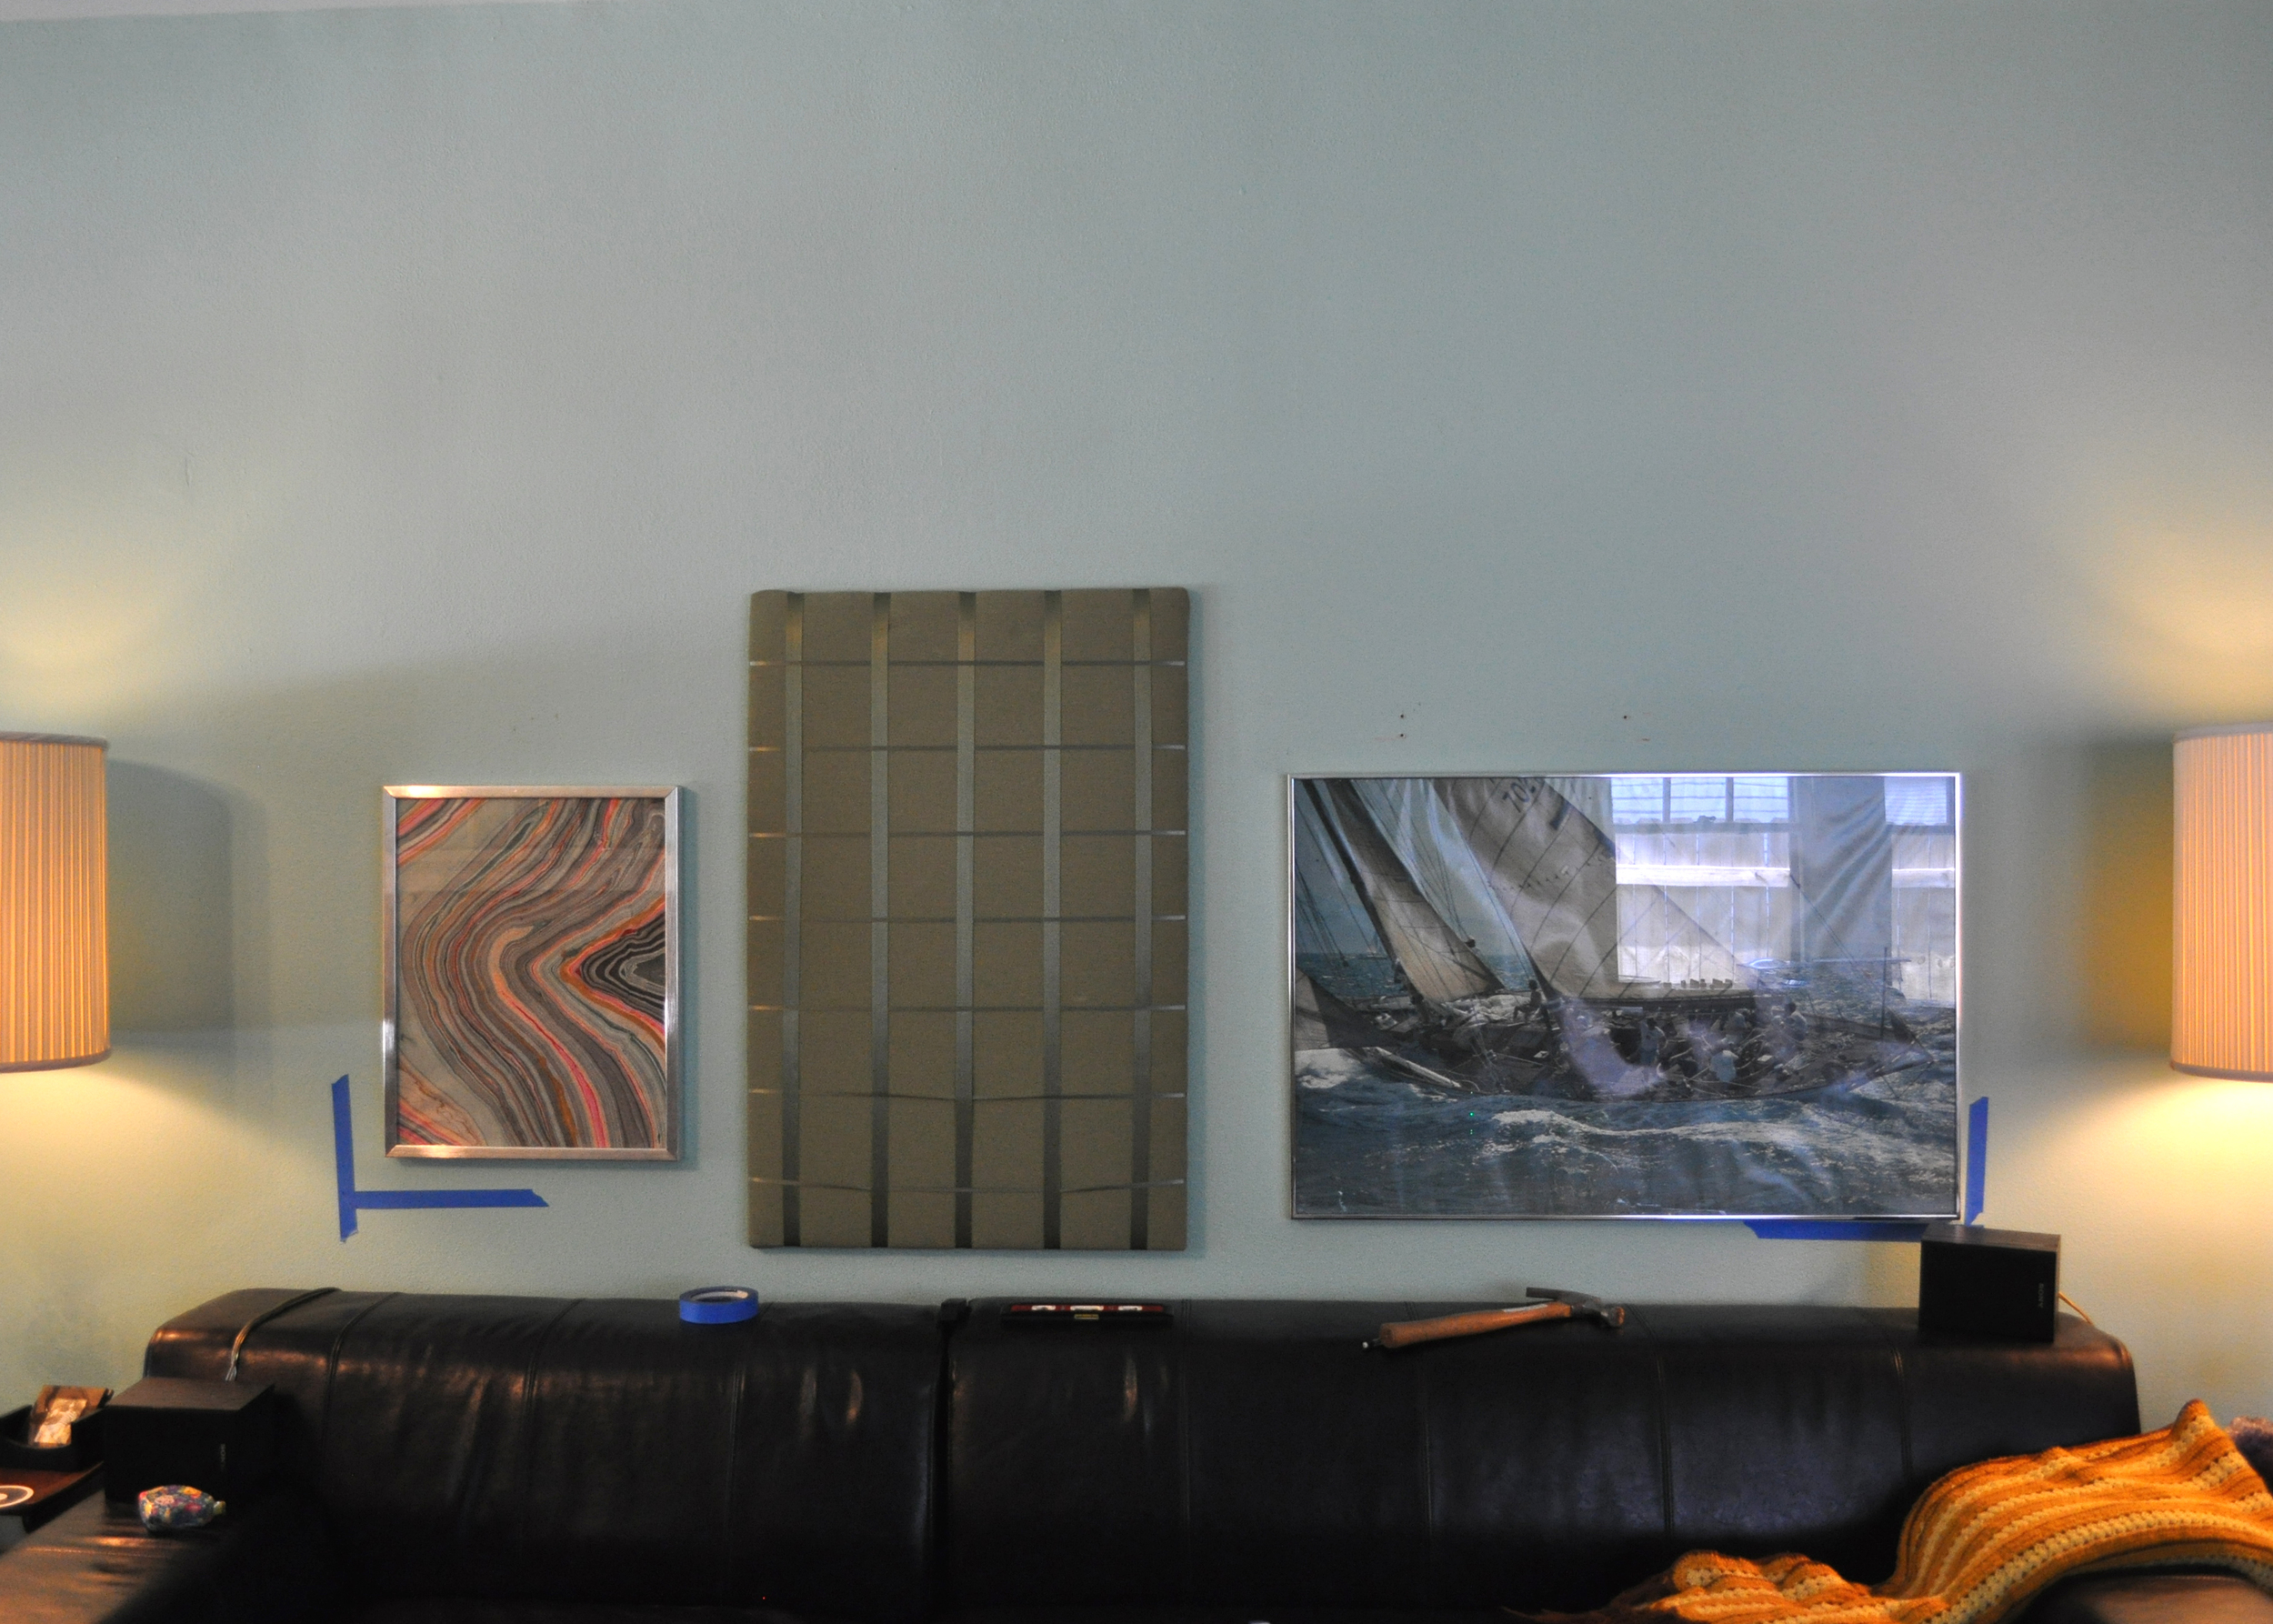
Once I got the layout how I wanted it I did the same blue tape placeholders on the wall. This kept me from going to low or too high with the art. It also gave me a frame of reference for how far apart the pieces were from each other since I didn't use kraft paper cut outs. When I hang a frame I also use hooks or two nails. I use the level when marking with pencil where the nails will go.
I always double check that the piece is level when I'm done hanging it. I do this for every piece of art no matter how small.
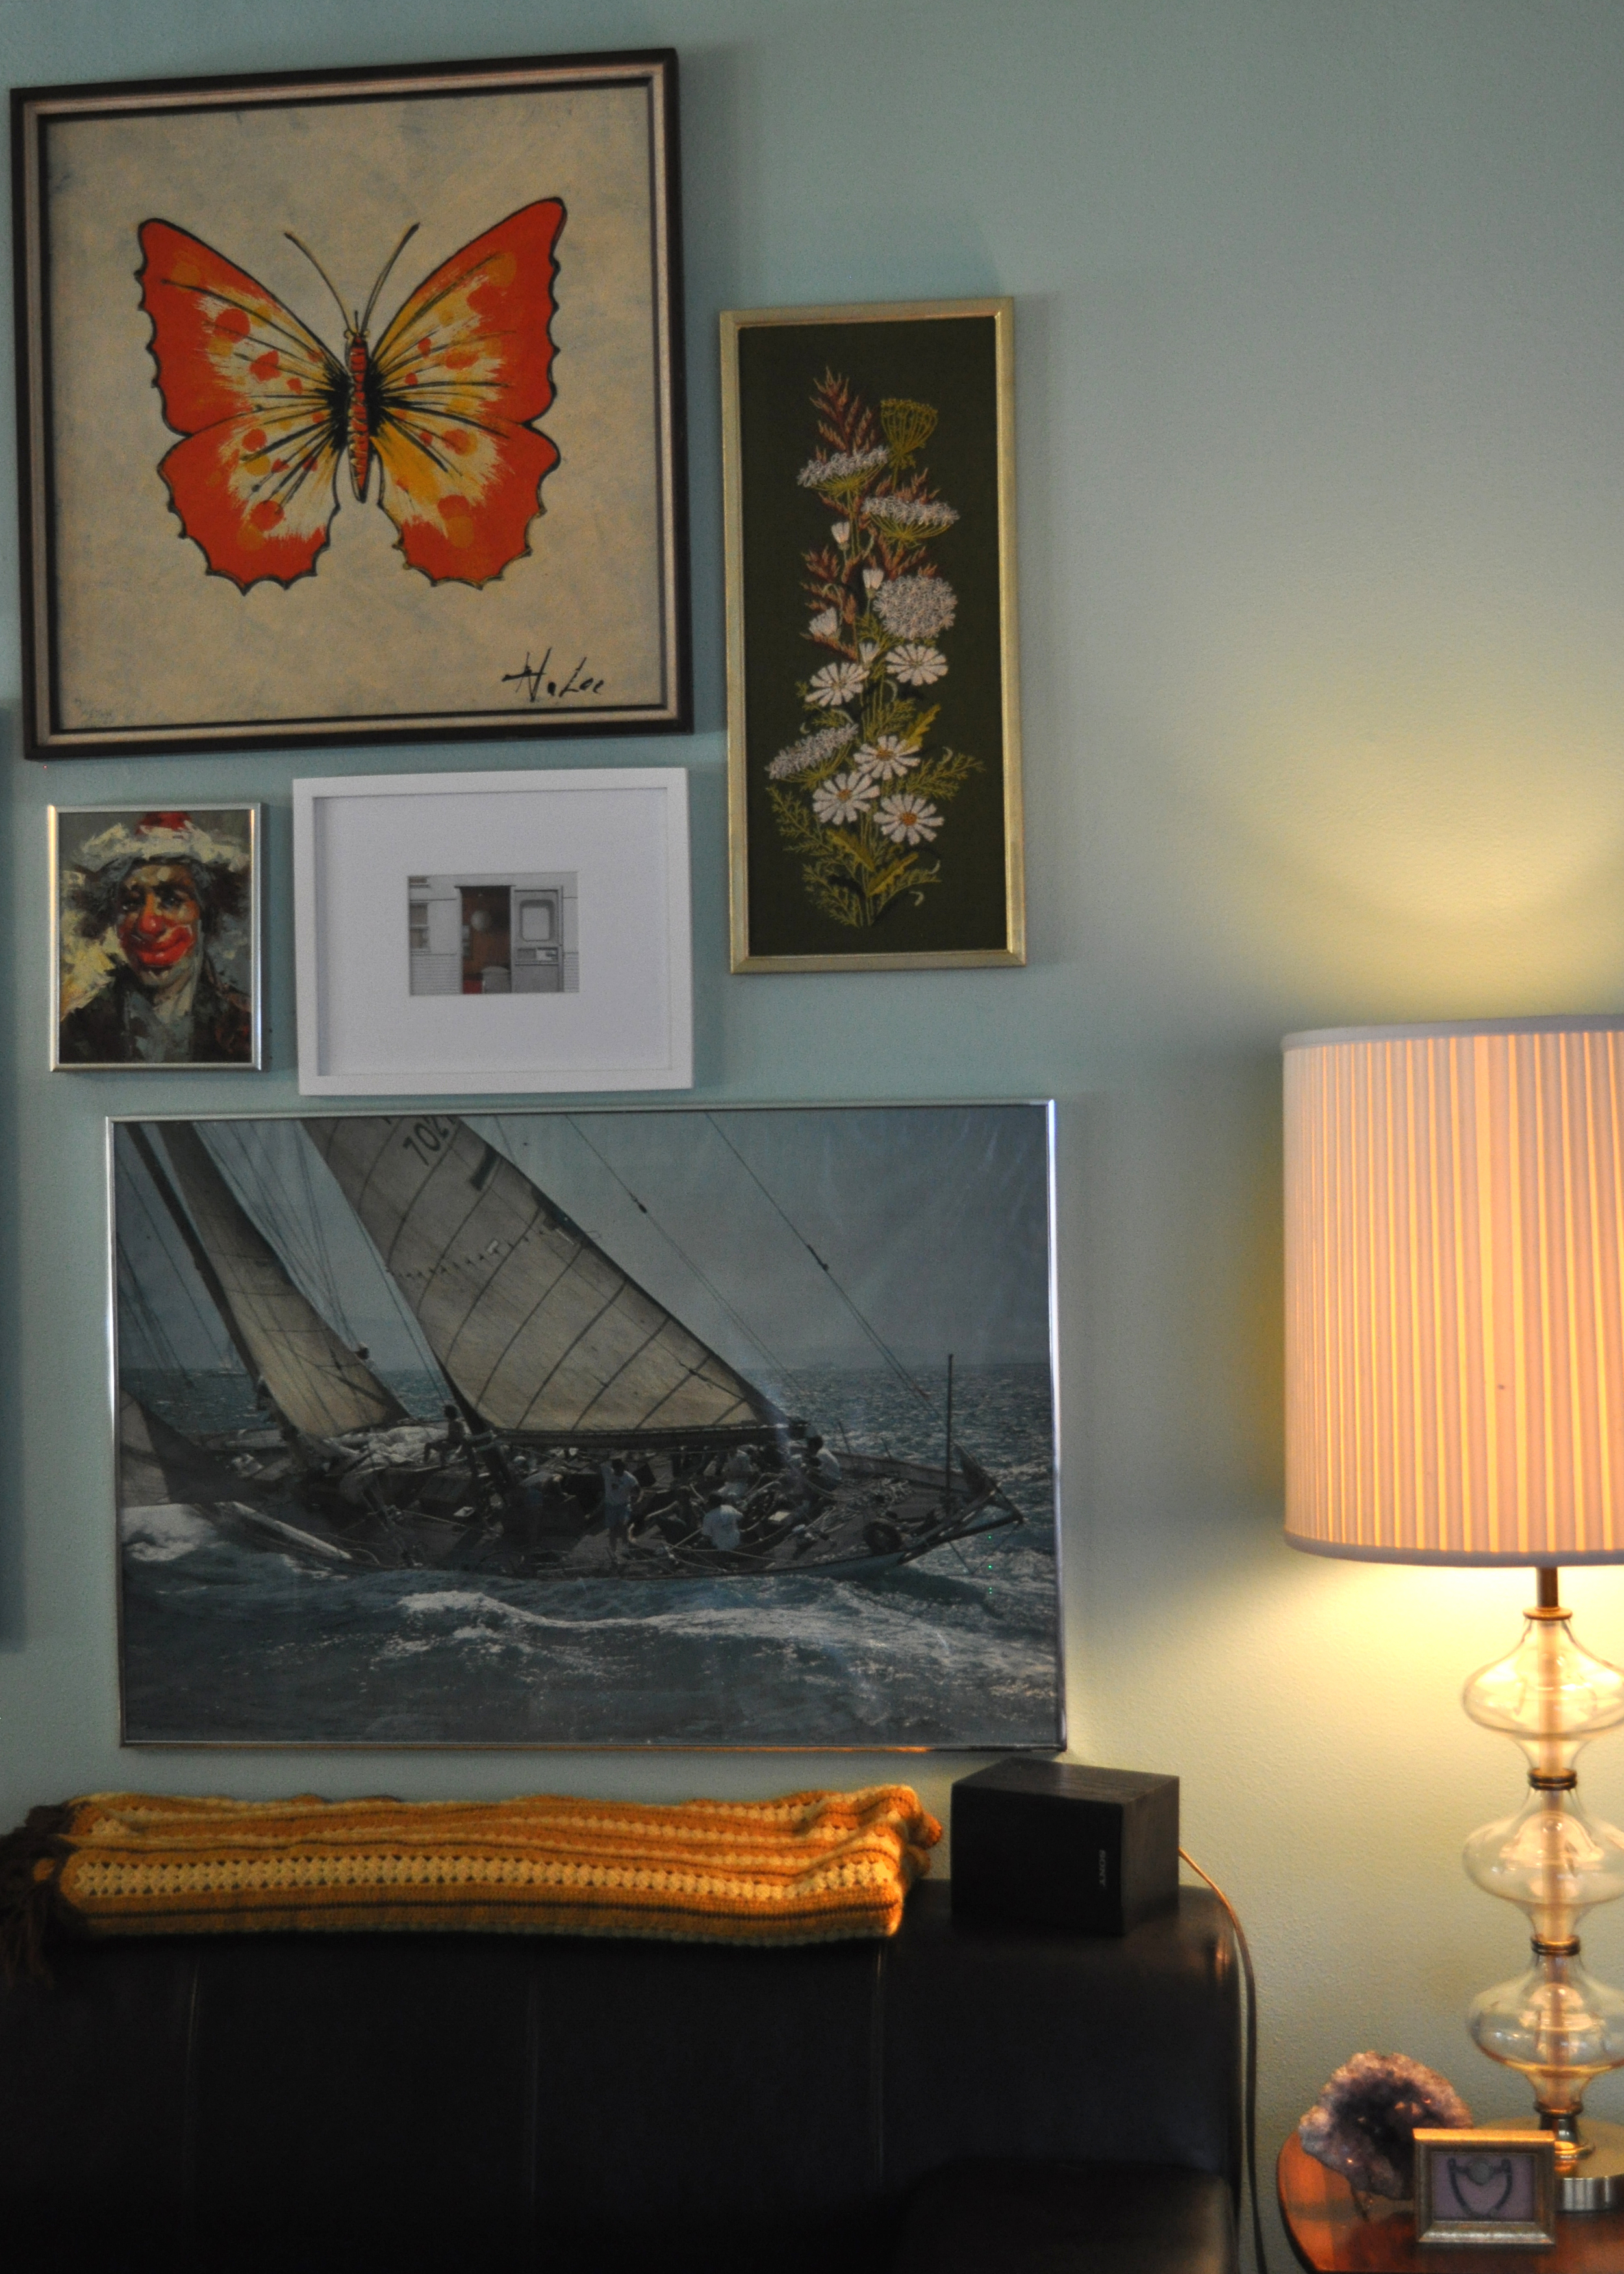
I got the first row hung! I started from the bottom & worked my way up the wall. This kept my proportions close to my original plan. {The green thing will be replaced with a piece of art I'm going to make. I know it looks tacky, it's temporary.}
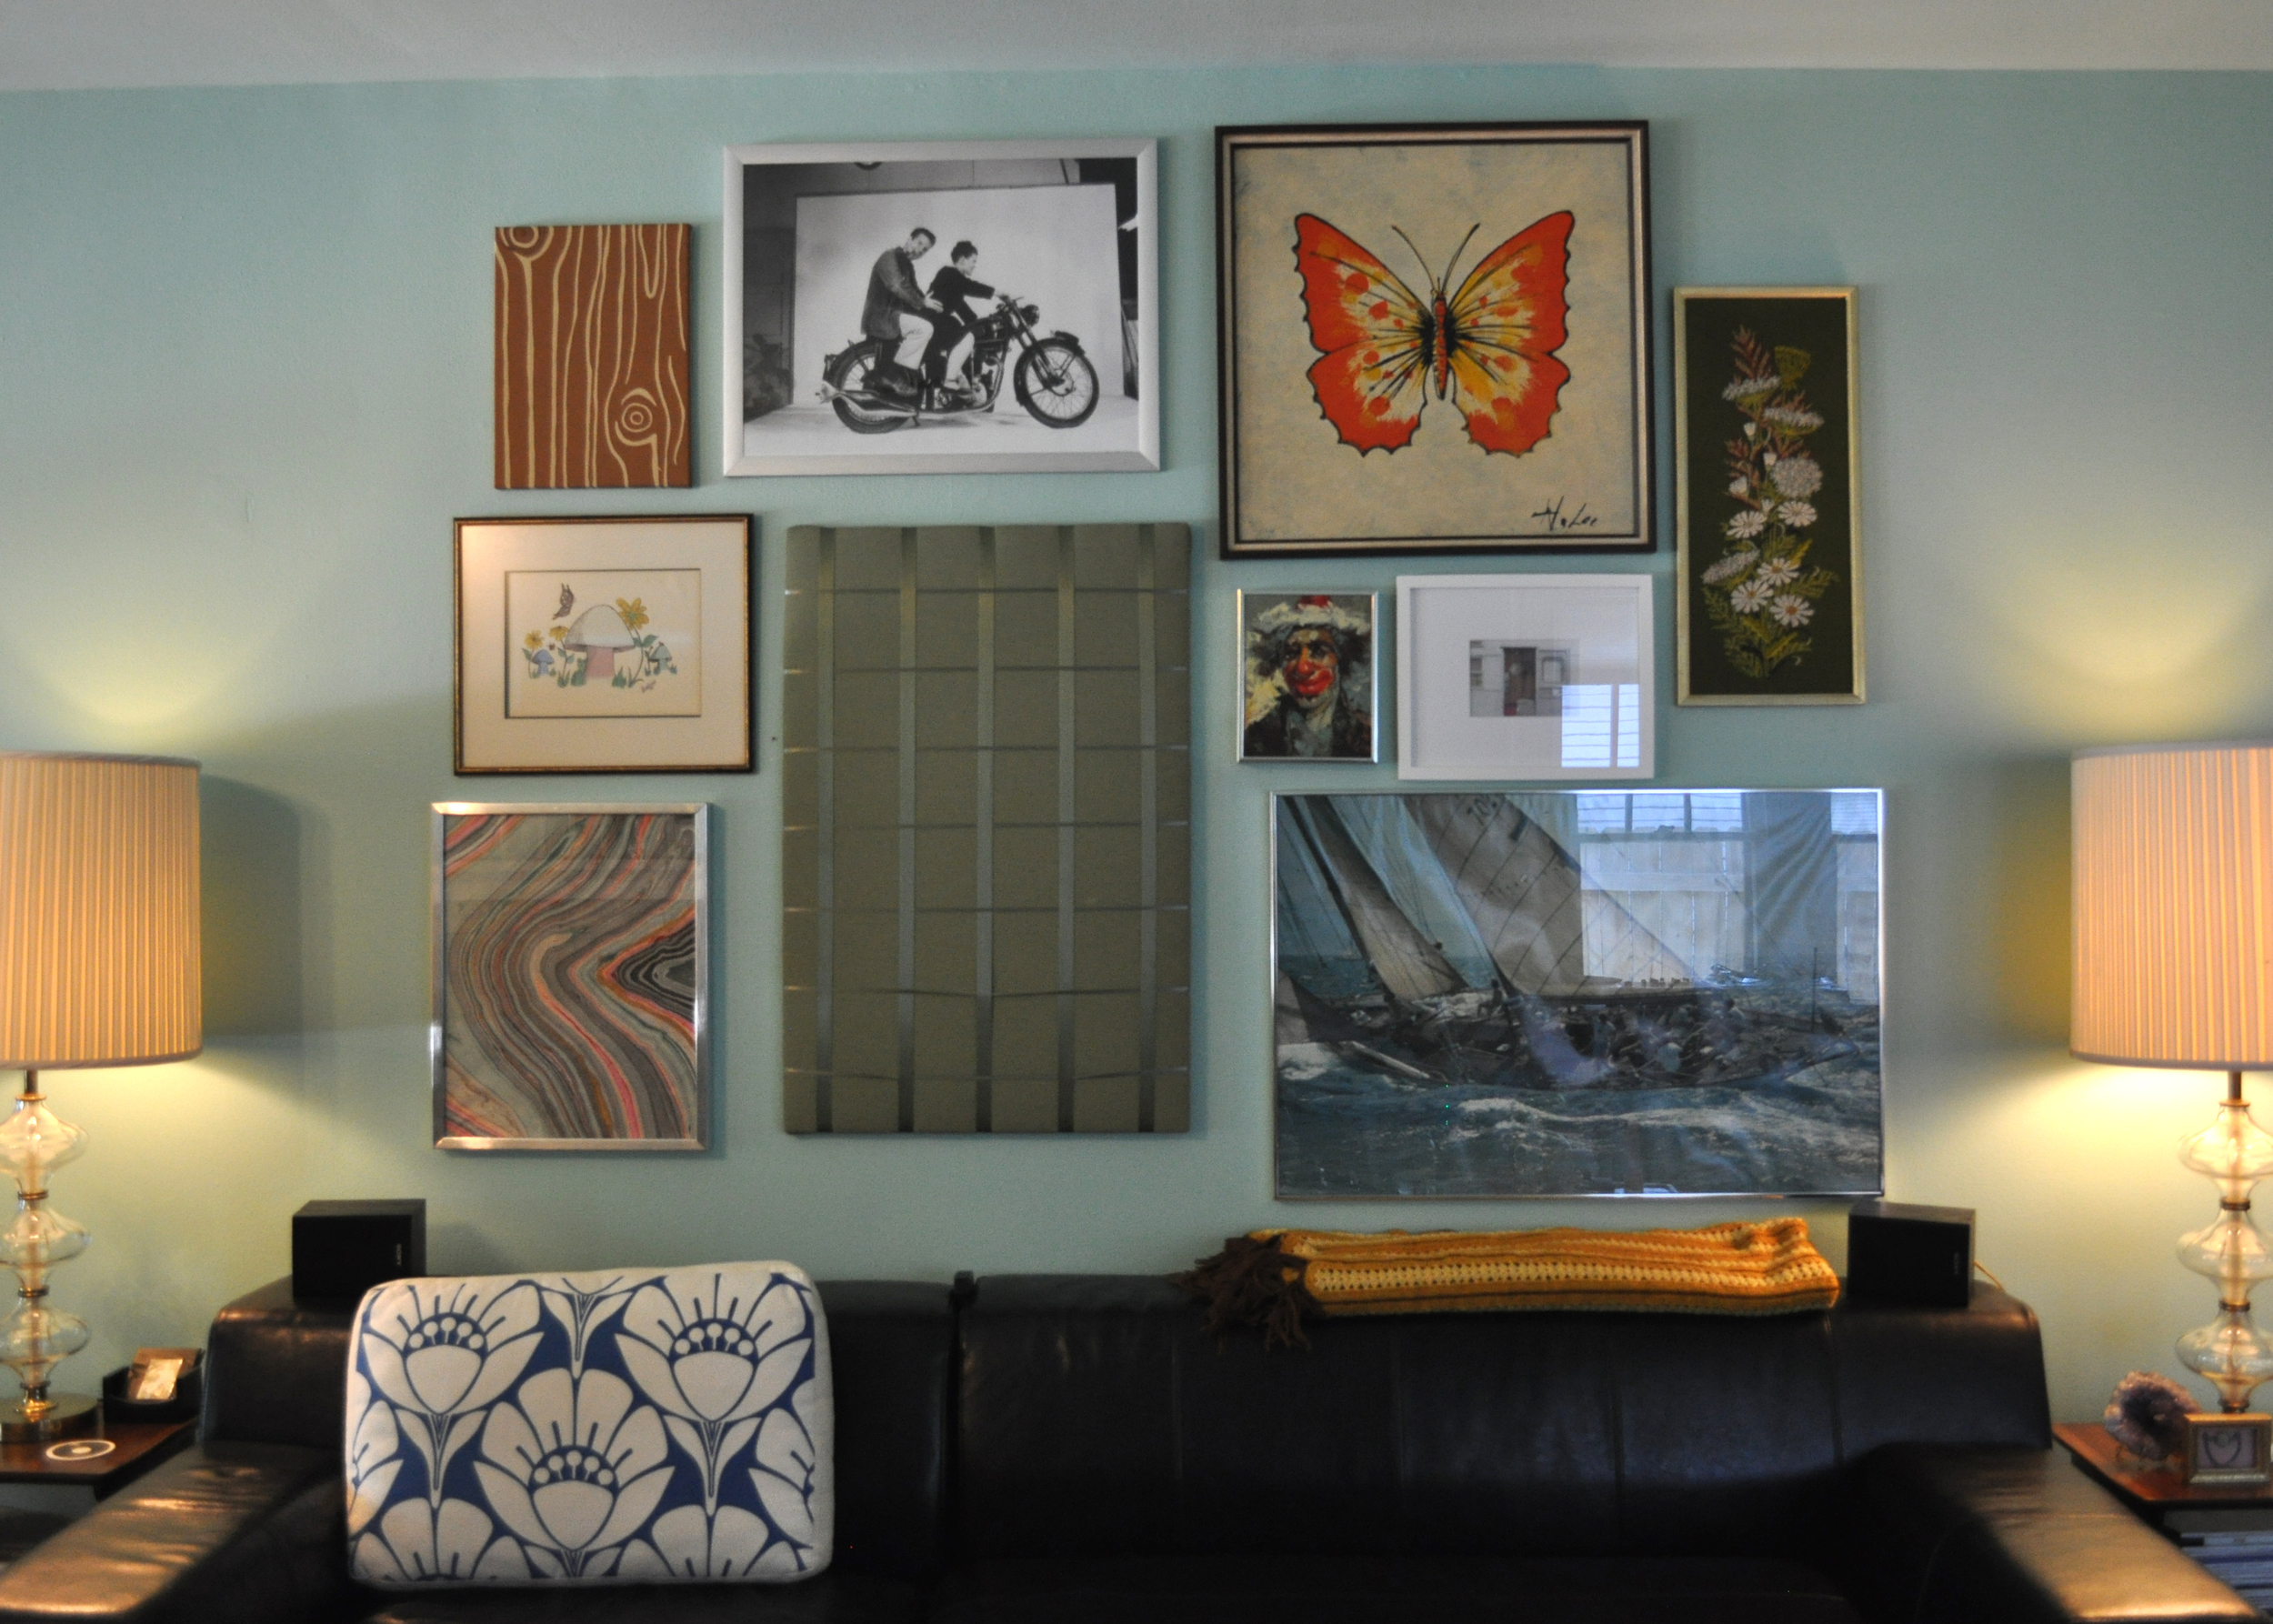
Done! Some of the pieces were adjusted a bit to cover previous holes in the wall. Also be sure to use picture hangers that tell you how much they'll hold if you're hanging heavy pieces. When hanging a gallery wall chances are you won't be hitting many studs. Our walls are incredibly strong, they have lath & plaster behind the sheetrock so it's not a problem for me. The sailboat piece is really heavy though & I don't want it falling on someone so I used 2 30lb hooks.
Do you have a gallery wall in your house? I find that it's the perfect solution when there is a large wall & the budget doesn't allow for a large piece of art.
The Interior Design Process- Part 3.
The Interior Design Process is a 3 part series I’ve written to give a peek into what to expect when working with an interior designer. To read The Interior Design Process Part One click here & Part Two here.
We're finally ready to discuss colors and fabrics! You may have already gone over some schemes and ideas with your designer, now is the time to finalize them! You no doubt have an idea or many ideas about what you want. Or more realistically you at LEAST know what you don't want. Explaining what you don't want to your designer can often be more useful to her than what you do want. What a client doesn't like tells me a lot more about them and what they're looking for in their space than what they do like. Also it's easier to talk about what you don't like, often times what you do like or want is more fluid, more of a feeling than a specific color scheme or idea.
Your designer may have a few schemes to show you. It's important when looking at a color scheme to be specific about what it is your liking & disliking. Vague answers such as, "I don't like this fabric. I think we can choose something better." don't give your designer a direction to go in next. What specifically don't you like about the fabric, the texture?, the color?, the pattern? & why. I don't want to use silk because living in Houston the air is humid and it tends to rot quicker, is a more clear answer. Or I grew up in a blue bedroom and I'm over that phase, if you could use a different color for the main color and blue as an accent I will be happy.
Also it's important to remember that while you're dissecting each individual piece your designer has the entire room planned out. The fabric that you feel is too bold for your space may be the perfect accent pillow against the beige sofa and walls. I understand it's hard to visualize the room and you're nervous about making the wrong decision. That's why it's important to remain open and communicate with your designer. {For situations like this I will provide a colored perspective sketch to help my clients visualize, but it's an additional cost. Rendered drawings can be quite expensive but may be worth it to help you feel more confident in your decisions.} Remember to keep fear from ruling your decisions. It's completely normal to be nervous that you'll make a mistake; but that's why you've hired a designer! Designers help many mistakes from being made, ultimately saving you money.
Once you and your designer have agreed on fabrics and furniture to purchase you're designer will prepare proposals for each item you're purchasing. Sometimes the designer will include all elements to a sofa on one proposal and others will do a separate proposal for each item (frame, fabric, trim). A single pillow can have many different elements such as labor, fabric, insert, trim all for 1 decorative pillow. Interior design is very detailed and can be quite tedious. The designers job it make the process as simple and easy as possibly for you. Typically a deposit is required before anything is ordered and the final payment due before you receive the products. The proposals should include the details (size & description) of what you're purchasing, an image of what you're purchasing, freight if available and an estimated lead time. I say estimated lead time because lately the furniture and fabric companies are stocking less and getting less reliable in their estimates. Your designer has no control over this and it's likely to get worse with the stock market tanking.
Now that the fabric and furniture are ordered you get to play the waiting game! In all likely hood though you're having work done on your home during this time. Your designer should be making periodic trips to check on the progress and answer contractors questions.
Installation day! I prefer to install all items for a room at the same time. It helps create the "wow" moment. I also prefer to install without the client present. This is so I can work smoothly and efficiantly without stopping to reassure or answer questions. I don't mean that to sound harsh, it's that when a project is being installed it can start to look worse before it looks better. It's a calmer environment for everybody involved with the clients out of the house. Plus the big reveal is the fun part!
Do you have further questions about working with an interior designer? Let me know any questions you have and I may publish them here!


